
This post was last updated on 12/29/2018 to add guidance for the Gutenberg editor.
For those of you that don’t like to keep installing plugins for all sorts of stuff, you’ll be happy to know that WordPress has a built-in image gallery feature!
The gallery in WordPress is pretty simple, nothing fancy, but it gets the job done, and in this post, you’ll see it in action!
I assume you already know how to upload images in WordPress. Therefore, I’ll start the tutorial with the images already uploaded and ready to be used.
Make sure that you optimize the images before and after uploading them.
1. How to create a gallery in WordPress using the Classic Editor
You can check the video tutorial for the Classic Editor or continue reading.
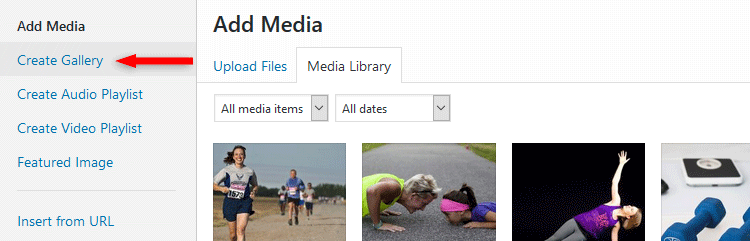
1. Click the Add Media button.

2. Click the Create Gallery link found on the left side.
3. Select the images that you want to add into the WordPress gallery by clicking on them while holding down the CTRL or CMD button on your keyboard.

4. Clicking the Create new gallery button found at the bottom-right.
5. A new window will appear, where you can reorder your images, reverse their order, delete an image, add captions to them, and also configure the Gallery Settings.
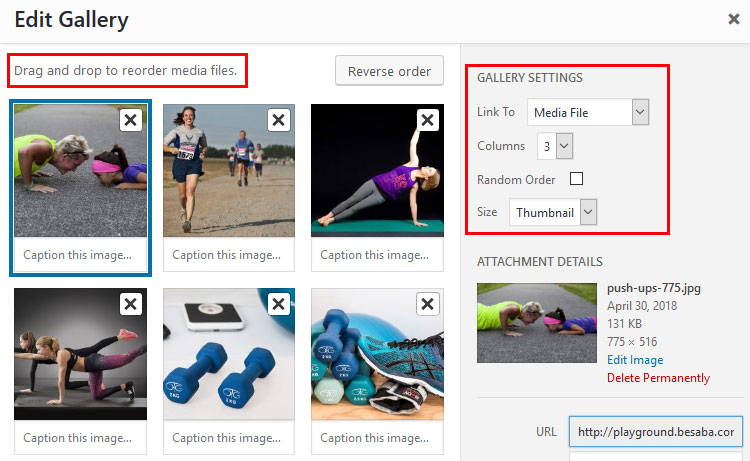
In the gallery settings, you have:
- Link To – choose where you want the images to link to when a user clicks on them:
- Media File – displays the image itself;
- Attachment Page – displays the attachment page of the image;
- None – clicking on them does nothing.
- Columns – speaks for itself;
- Random Order – the gallery will display the images randomly every time the page is loaded;
- Size – choose the size of the images within the gallery:
- Thumbnail;
- Medium;
- Large;
- Full size.
6. After configuring the gallery’s settings, insert the gallery by clicking the Insert gallery button.
And this is how it looks on the front-end:
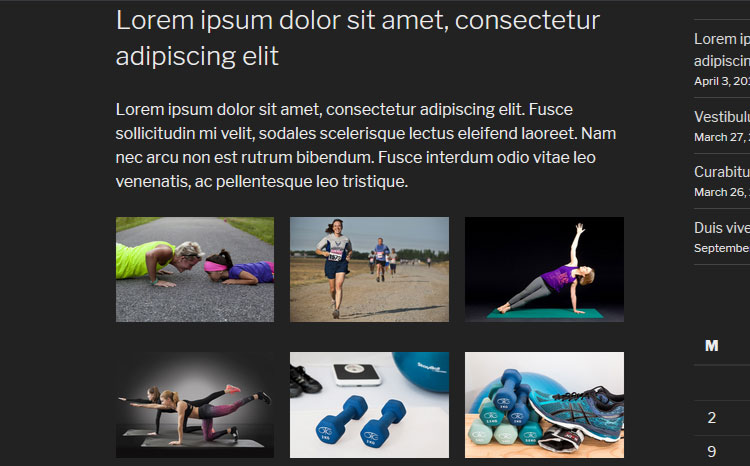
Pretty cool, right?
How to edit the WordPress gallery
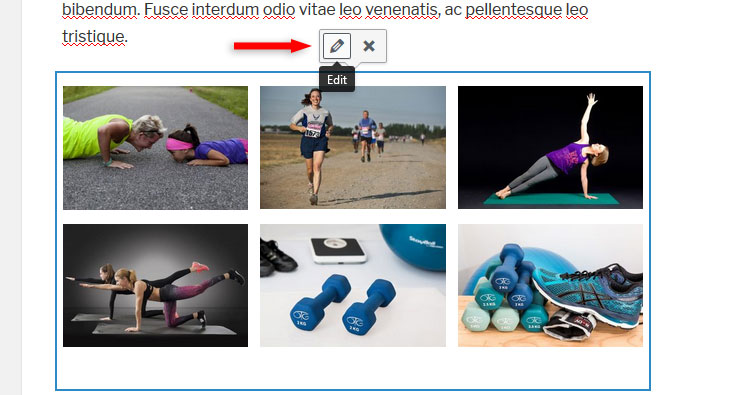
If you want to edit the gallery after you inserted it, switch to the Visual editor, if you were not working on it already, click on the gallery, and then click the Edit icon.
If you prefer using the Text editor instead, like I do, or you have the Visual editor disabled, then you can edit the shortcode, if you know your way around with them.
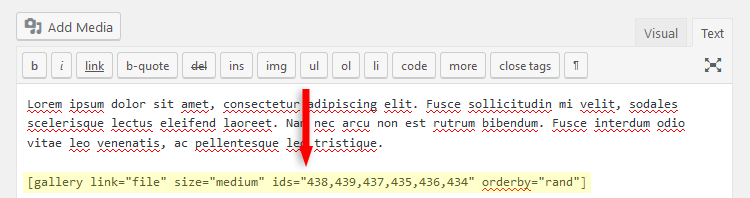
Here’s a guide on the gallery shortcode.
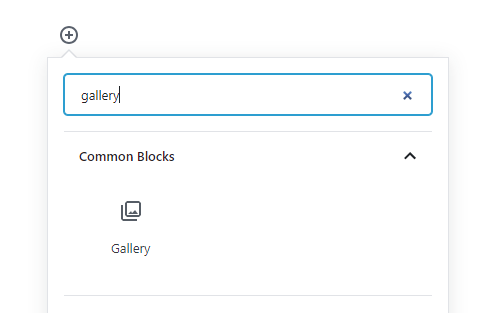
2. How to create an image gallery in WordPress using Gutenberg
1. Click the + icon, search for “gallery” and add the block.
2. Click the Upload button if you don’t have the images uploaded yet, or the Media Library button if the images are already uploaded.
3. Select the images that you want to add into the WordPress gallery by clicking on them.
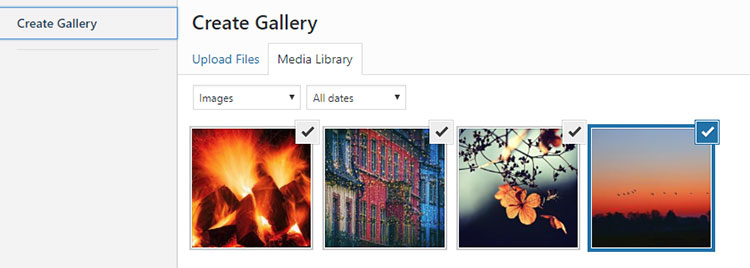
4. Click the Create a new gallery button at the bottom-right.
5. Drag and drop the images to rearrange them and add captions if you want.
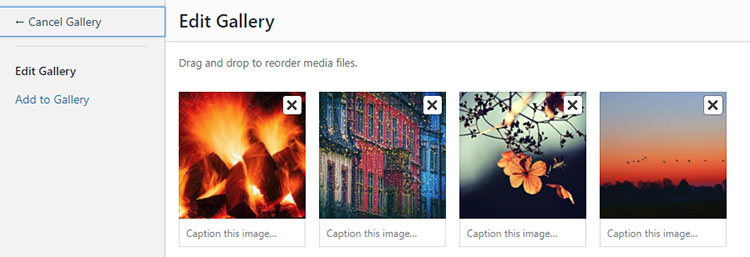
6. Click the Insert gallery button at the bottom-right.
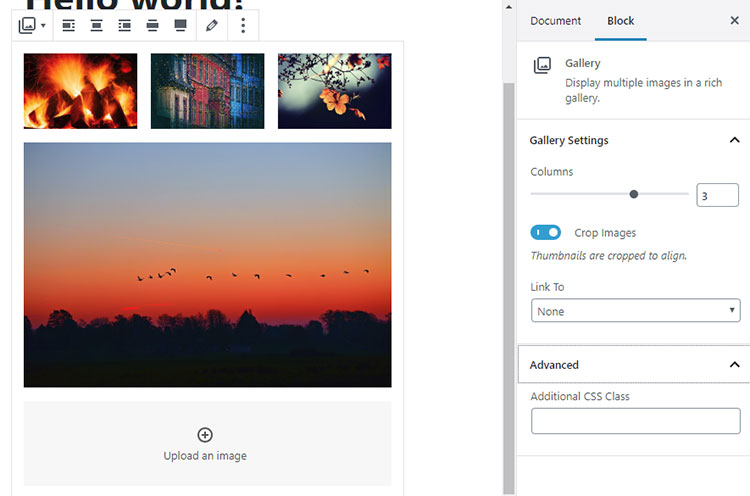
7. Edit the gallery options in the sidebar. Make sure the Gallery block is selected.
That’s a wrap
Hope the tutorial was comprehensive enough, and you understood how to create a gallery in WordPress.
If you have any questions or thoughts, drop a comment, contact us or message us on Facebook.
You can also follow us on Twitter and subscribe to our YouTube channel.
If you want to start your own WordPress blog, or need a website for your business, our WordPress installation service is at your disposal!
You can also purchase a ready-made WordPress website with hosting and support included!

Leave A Comment