If you want to display your blog posts on a page using Elementor, then the JetBlog plugin is a great solution.
It’s easy to use and provides highly customizable widgets for different needs. Needless to say, the widgets are fully responsive.
Let’s check it out!
You can use the coupon code THEMESKILLS10 for a 10% discount!

Installing the JetBlog Plugin
JetBlog is a premium add-on for the Elementor page builder, so you’ll have to install it by uploading it via your WordPress dashboard in Plugins > Add New.
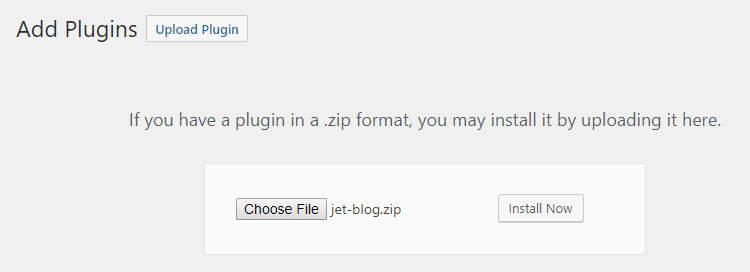
Here’s more on how to install a plugin in WordPress.
Setting Up Its Main Settings
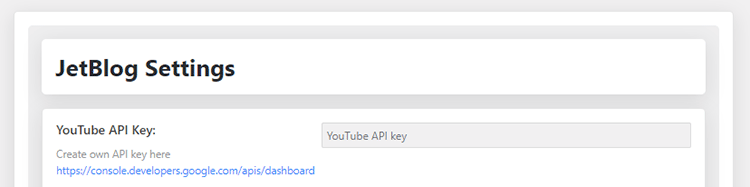
To access JetBlog’s main settings, go to Elementor > JetBlog Settings.
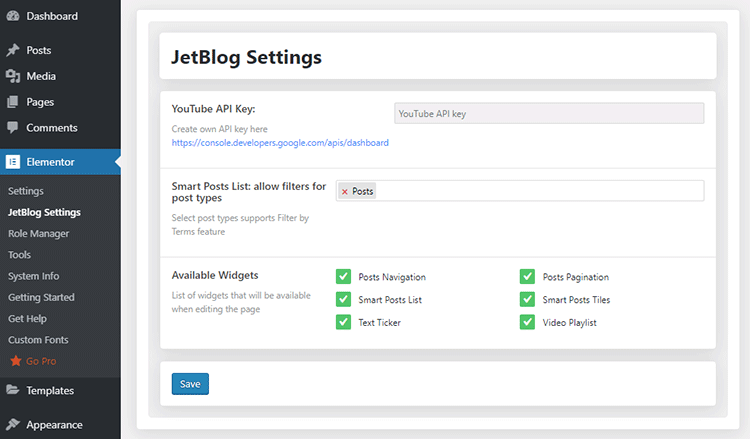
Here, you can add the YouTube API needed for the Video Playlist widget, filter post types for the Smart Posts Lists widget, and disable the widgets that you don’t plan to use.
Post Widgets in Elementor
Edit a page with Elementor and scroll down to the JetElements section.
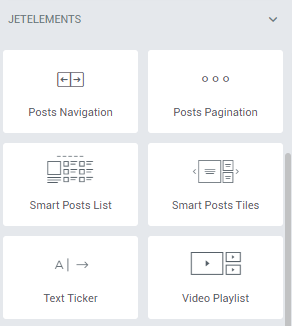
There, you’ll find 6 new post widgets for Elementor:
- Posts Navigation;
- Posts Pagination;
- Smart Posts Lists;
- Smart Posts Tiles;
- Text Ticker;
- Video Playlist.
Let’s take a closer look at them.
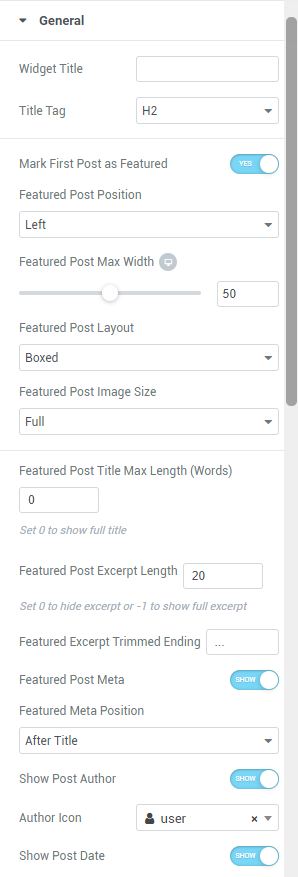
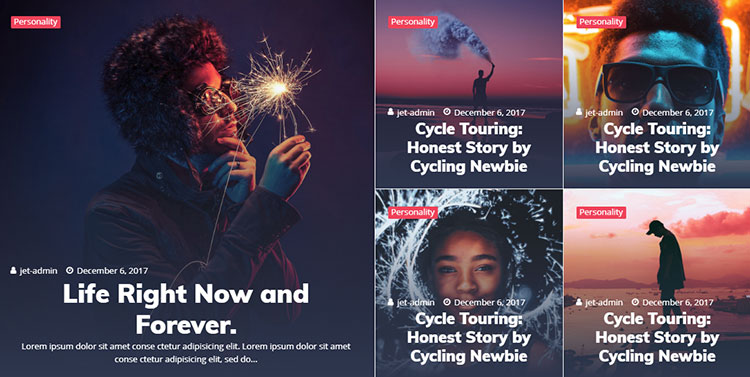
Smart Posts Lists
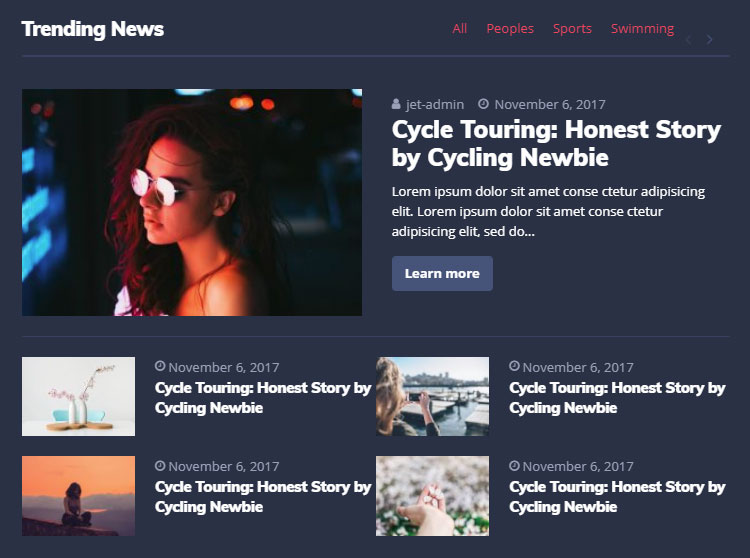
The Smart Posts Lists widget allows you to display your blog posts in neat content blocks.
You can easily change the layout and its appearance by using the widget’s huge number of options.
You can change the title tag, which is good for on-page SEO, change the featured post’s position and max width, change the number of rows and columns, and much more.
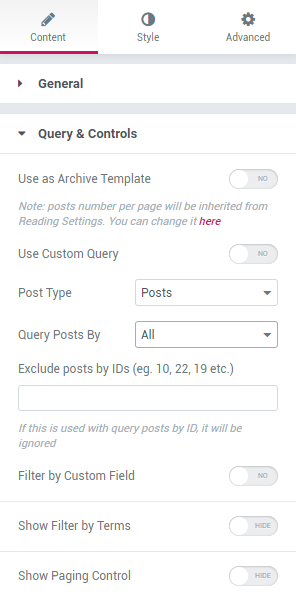
It also lets you choose posts by categories, tags or IDs, and exclude posts that you don’t want to show.
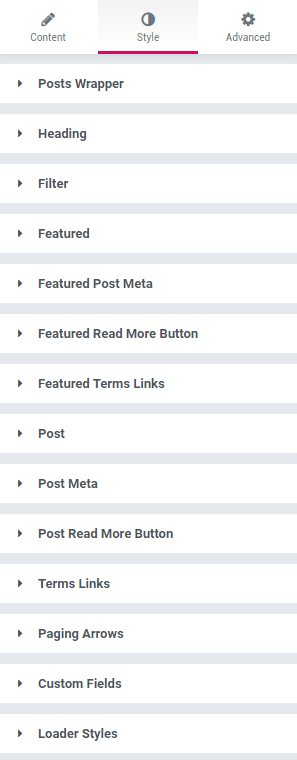
You also have tons of options for different parts of the widget in the Style section of Elementor.
Smart Posts Tiles
The Smart Posts Tiles widget lets you display your posts with Elementor in eye-catching tile blocks.
You can choose from 9 different layouts and also customize its appearance.
You can change the height and width, excerpt and title length, image size, and more.
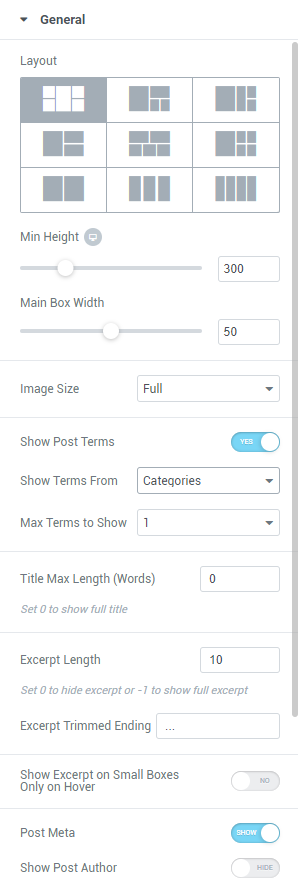
Just as the other widget, Smart Posts Tiles allows you to choose posts from categories, tags, and IDs, and also exclude posts that you don’t want to display.
The options from the Style section are also plenty.

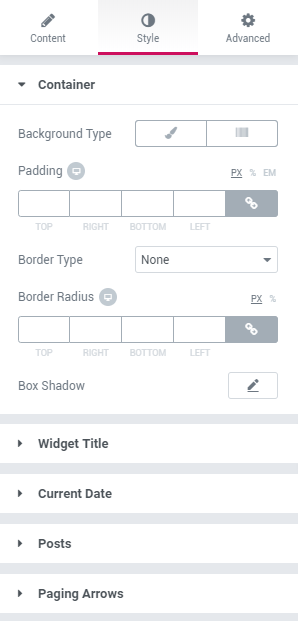
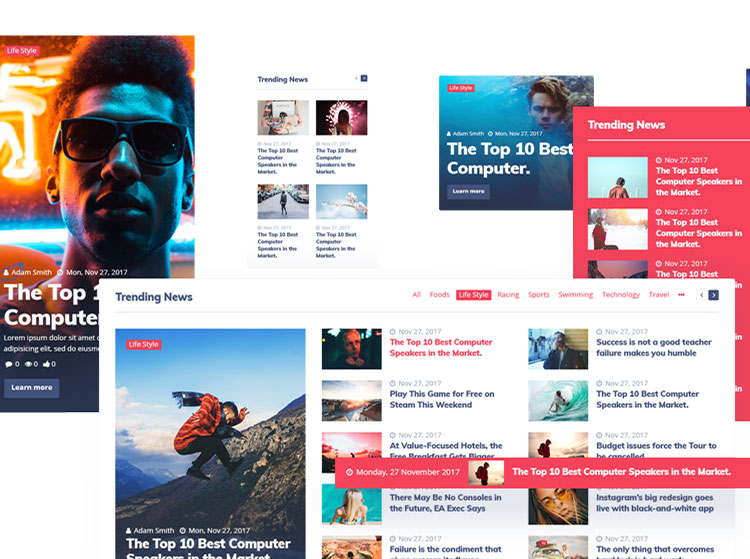
Text Ticker
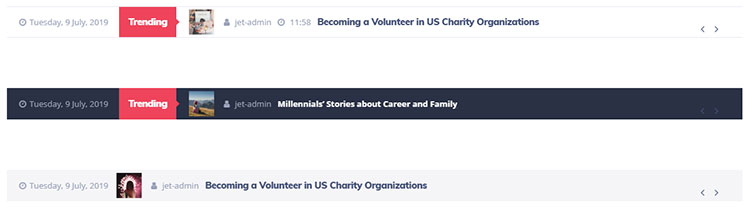
The Text Ticket widget allows you to add an engaging content module to display your most important or recent posts.
Something similar to what you see on some news sites.
This Elementor posts widget also comes with many customization options.
You can show the current date, hide different features on tablets or mobiles, choose the number of posts to display, choose posts from categories, tags or IDs, and more.
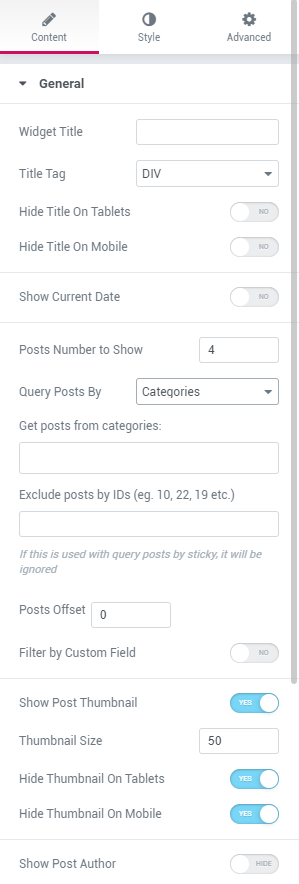
Plenty of styling options are on the menu as well.
Video Playlist
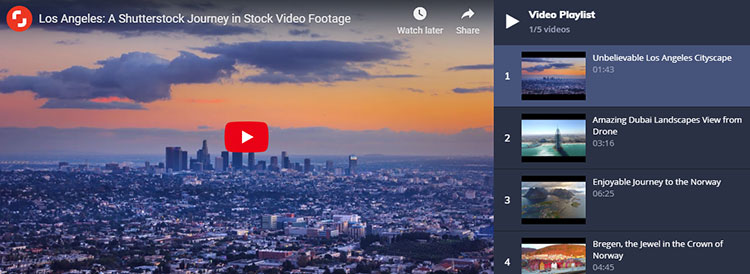
If you also have videos posted on YouTube, as I do, you can use the Video Playlist widget to display them.
First, you’ll need to create a Google API key to properly display the YouTube videos.
Then, add it in JetBlog’s main settings.
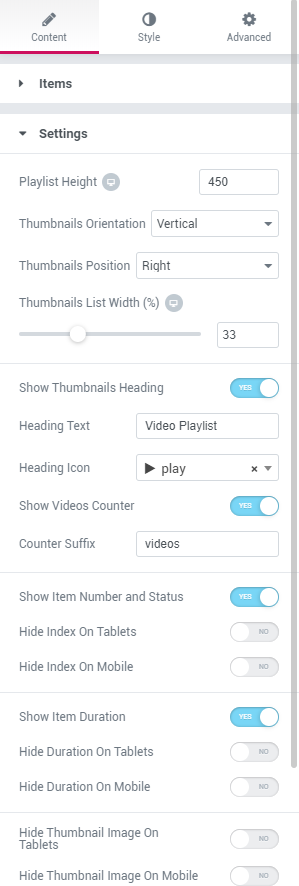
This widget also has a multitude of settings.
You can change the playlist’s height, adjust the thumbnails’ orientation, position, and width, hide several features on mobiles or tablets, and more.
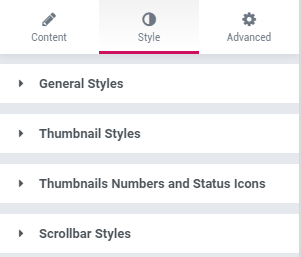
If you want to change the video playlist’s style, you have several settings for that, too.
Posts Navigation and Posts Pagination
Those two widgets are created to be used with CrocoBlock and in Elementor Pro’s templates and archives.
They are not related to the other widgets’ navigation. You can still enable it for them.
For Smart Posts Lists, you can enable Show Pagination Control in the Query & Controls settings. Then, you can customize it in Style > Paging Arrows.
For Smart Posts Tiles, you can turn on Enable Carousel and Show Controls Arrows in the Query & Controls settings. Then, customize the arrows in Style > Paging Arrows.
Support
If you need help with the JetBlog plugin, the developers offer 24/7 support.
The documentation is also updated and detailed. It currently has 54 pages of guides.

That’s a Wrap
I hope you found the JetBlog plugin and its Elementor post widgets useful!
If you have any questions or thoughts, drop a comment or send a message via contact or Facebook page.
You can also hit the follow button on Twitter and subscribe to the YouTube channel.
Don’t forget to share the post to help out others!

Leave A Comment