
When you log in to WordPress, you’ll notice some boxes in your Dashboard.
There aren’t so many when you first install WordPress, but once you install a theme and plugins, more could appear and create quite a clutter, so you might want to remove some.
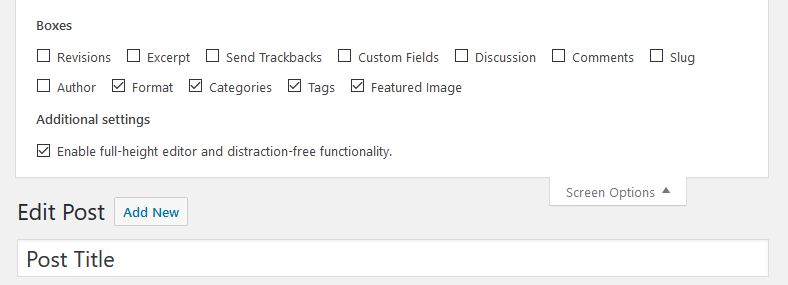
You can achieve this by using the Screen Options feature, so you won’t need any kind of coding.
Click here if you want to jump straight to the video tutorial.
The WordPress “Screen Options” feature
Screen Options is found on the top-right corner of your Dashboard.

Once you click it, you’ll see all the boxes that appear on your Dashboard.
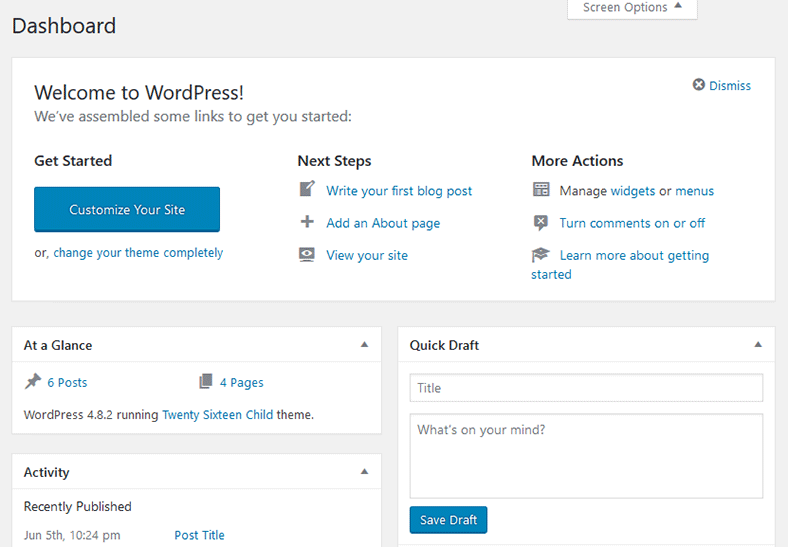
Here are the default ones that appear when you perform a fresh and clean WordPress installation.

As I previously mentioned, more can pop up as you start installing a theme or plugins.

As you can see, I have extra Yoast, WooCommerce and Broken Link Checker boxes.
How to use the “Screen Options” feature to customize your admin Dashboard
Well, this is going to be dead easy, as you might have figured it out by now. You just need to uncheck the boxes that you want to remove from your Dashboard.
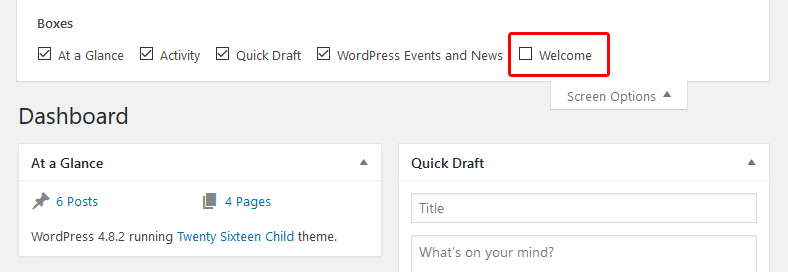
I unchecked the Welcome box, and it’s now gone from my Dashboard.
How to rearrange the Dashboard boxes
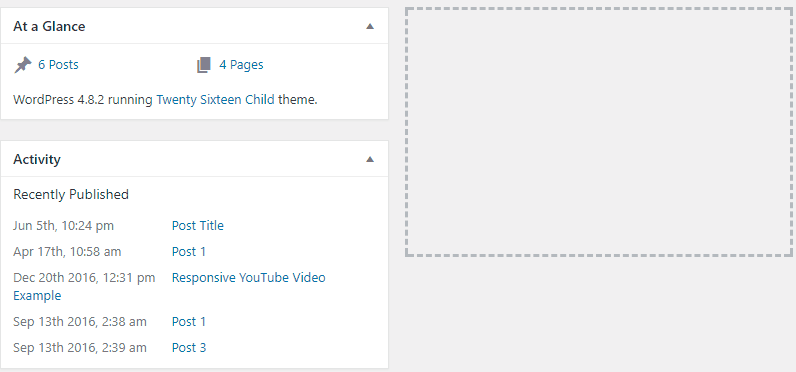
You can also re-arrange the boxes in your Dashboard by simply dragging them.
Video guide
That’s a wrap
Hope you found the post useful and comprehensive.
Don’t forget to share it with your friends!
If you have any questions or thoughts, please drop a comment, contact us or message us on our Facebook page.

Leave A Comment