
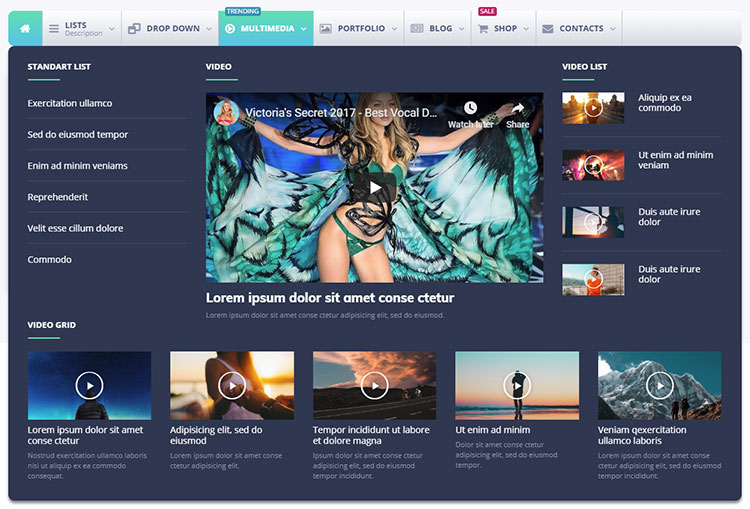
If you’re building your WordPress website with Elementor and you want to add a mega menu to it, then JetMenu could be a perfect fit for you!
JetMenu is an easy-to-use and highly customizable premium Elementor add-on, which allows you to change colors, fonts, background colors, add shadows, icons, badges, and more!
The best thing about it is that it allows you to create a mega menu by simply dragging and dropping Elementor widgets to it, just like you do when you create pages.
Let’s check it out!
You can use the coupon code THEMESKILLS10 for a 10% discount!
Installing JetMenu
Since this is a premium plugin, you’ll have to upload the .zip file from your WordPress dashboard in Plugins > Add New.
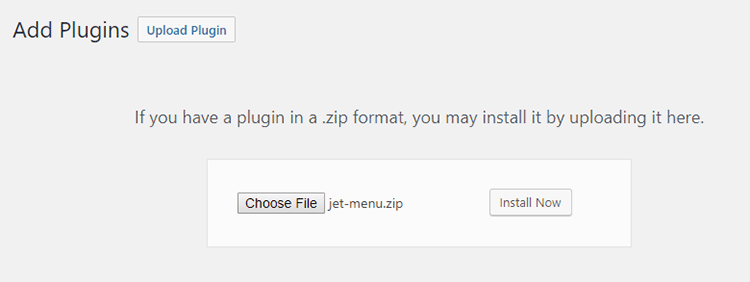
You can also upload it on your FTP and unzip it there, but that’s more complicated.
Here’s more on how to install a WordPress plugin using different methods.
Configuring the Settings
Once you have installed and activated the plugin, go to JetMenu, found in your dashboard’s sidebar.
There, you’ll find the following settings, which you can set up based on your preference.
General
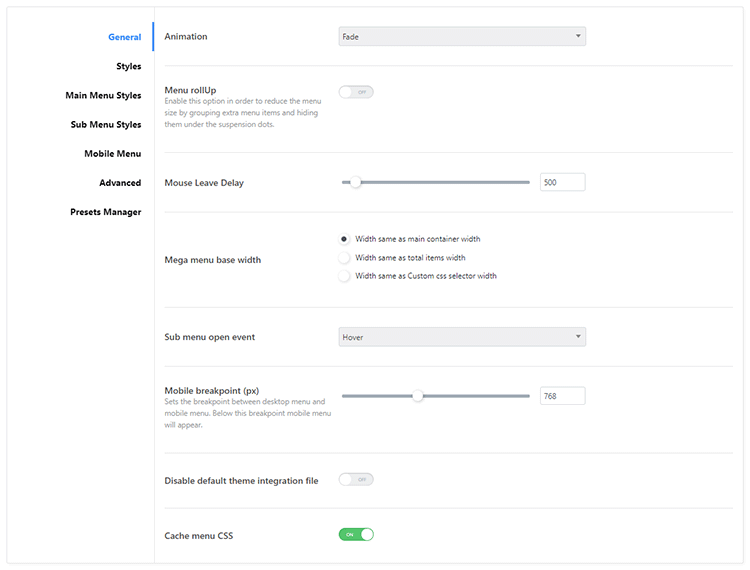
Styles

Main Menu Styles
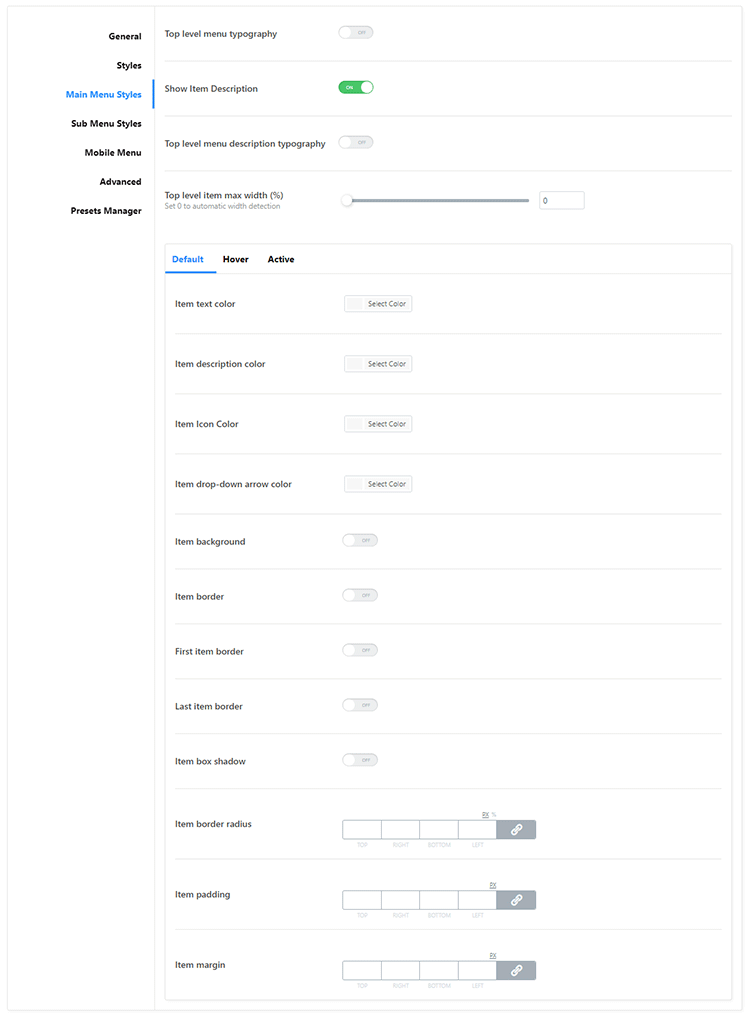
Sub Menu Styles
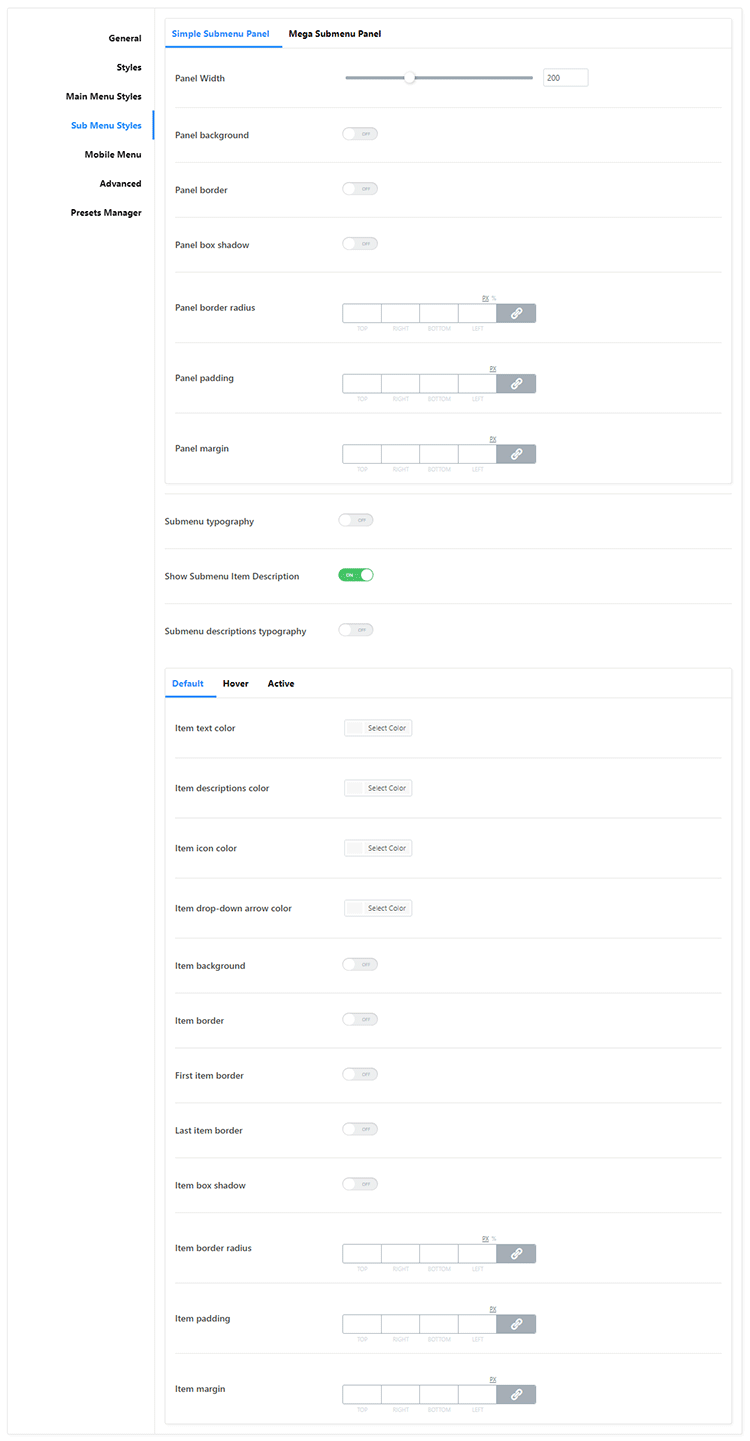
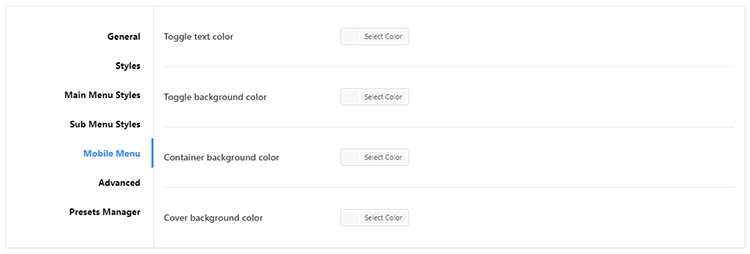
Mobile Menu
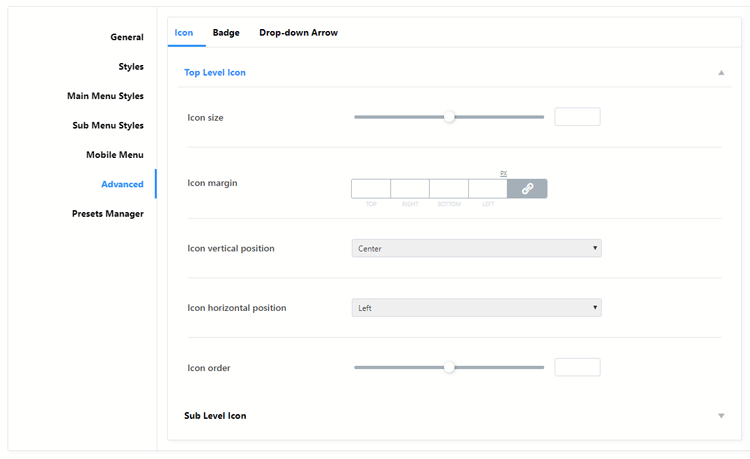
Advanced
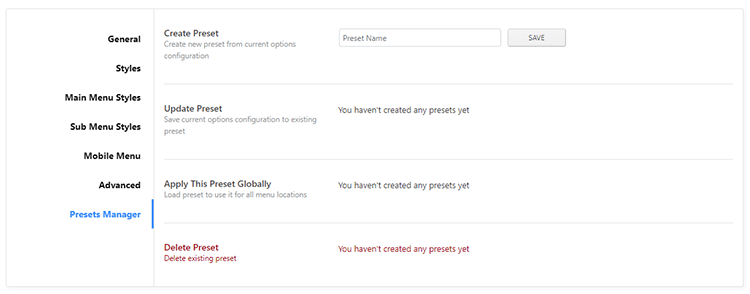
Preset Manager
Creating the Mega Menu for Elementor Using the JetMenu Add-on
Now, let’s see how to actually create the mega menu that we’ll use.
Step 1
Go to Appearance > Menu, select the menu you want to edit (usually the top main menu), enable JetMenu for it, then click the Save button.
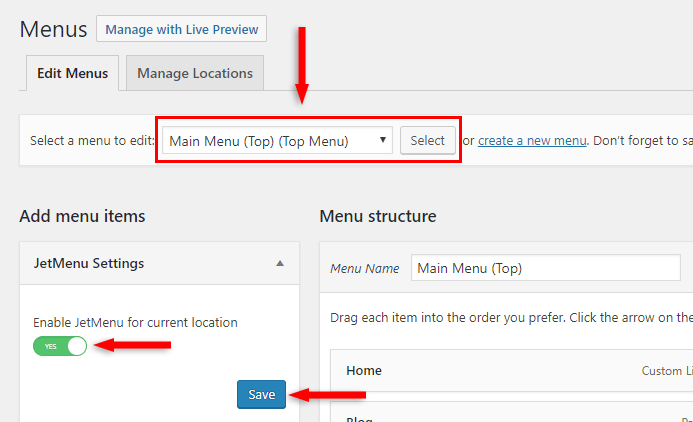
Make sure you also have the correct menu location set at the bottom.
Here’s a tutorial on how to create and configure a navigation menu in WordPress in case you’re not very familiar with it.
Step 2
Hover over the menu item that you want to turn into a mega menu and click on the JetMenu button.
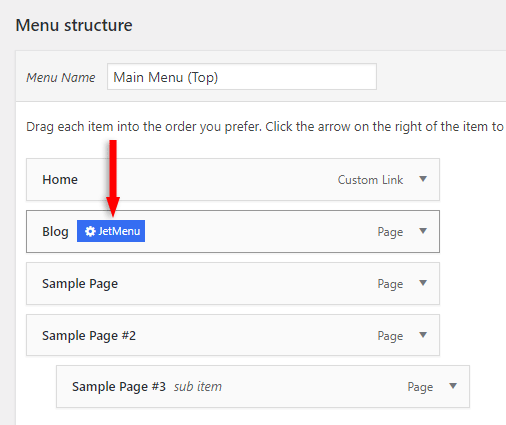
Step 3
A pop-up will appear.
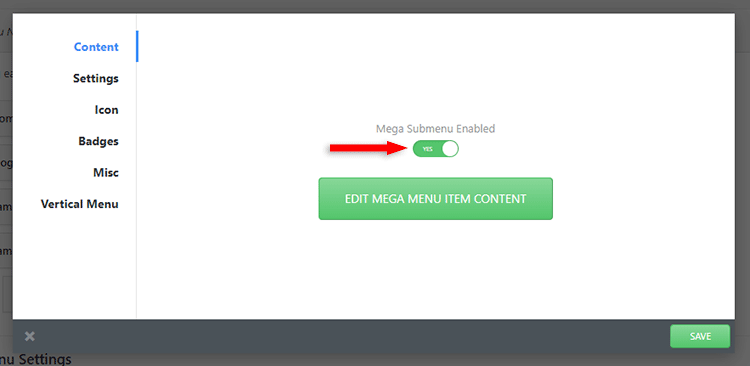
Enable Mega Submenu if you want any content to appear on hover.
Before proceeding to edit the menu item content, go through the settings on the left and see if you want to change or add anything, such as icons, badges, colors, etc.
After you went through the settings, click on the Edit Mega Menu Item Content button.
Step 4
A pop-up with Elementor will appear, where you can drag-and-drop any widgets that you want to the menu item. It’s just like building a page, except you’re building your menu.

Step 5
Check how it looks like in the front-end.
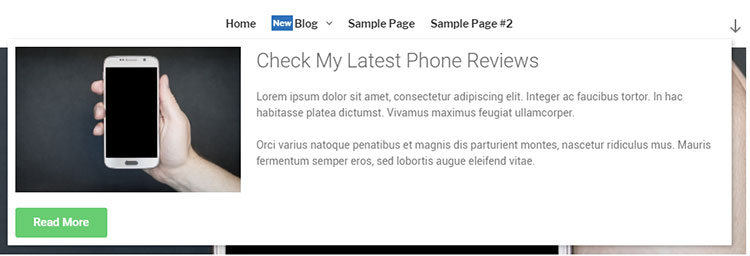
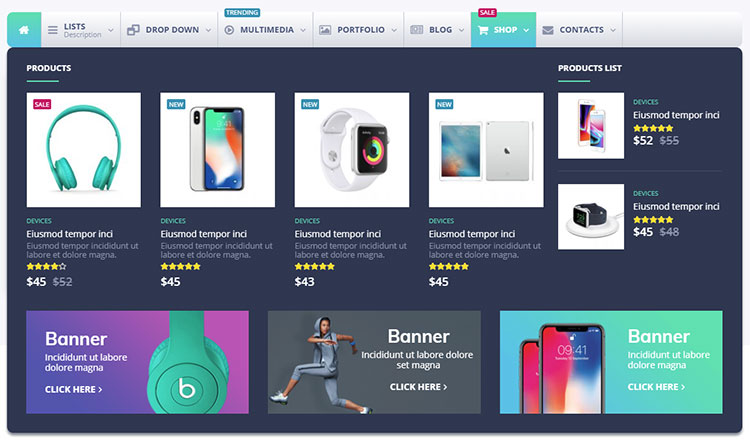
As you can see in my example, I added a mega menu along with a “New” badge to the Blog page.
Inside the mega menu, I added Image, Text, and Button widgets with Elementor.
You might need to set some paddings and margins in JetMenu in order for everything to look all right, especially if you’re using badges and icons.
So, don’t panic if they look messed up at first.
If the mega menu doesn’t appear at all, make sure you’ve enabled and saved everything, then clear your site and browser cache.
Adding the Mega Menu in Different Places with Elementor
You can use the JetMenu Mega Menu widget in Elementor to add the menu you created wherever you want within a page.
All you have to do is to drag-and-drop it.
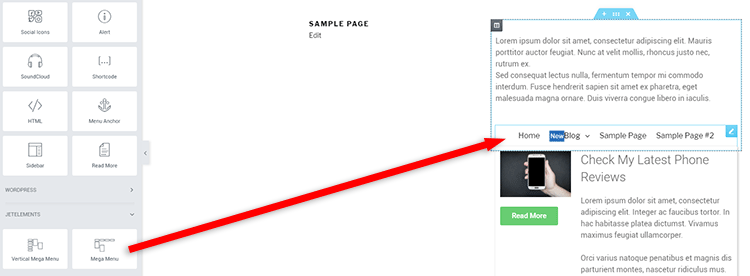
If you create several different menus, you can choose which one you want to add by clicking on the Mega Menu’s edit icon and selecting your menu from the drop-down on the left.

Adding the Mega Menu Vertically
JetMenu also allows you to add the mega menu vertically.
In Elementor, simply drag-and-drop the Vertical Mega Menu widget.

You can also choose which side you want the vertical mega menu to be on: left or right.
All you need to do is to click on the widget’s edit icon and select the side from the drop-down menu on the left.

Support
If you’re having issues or need help, the JetMenu developers offer 24/7 support.
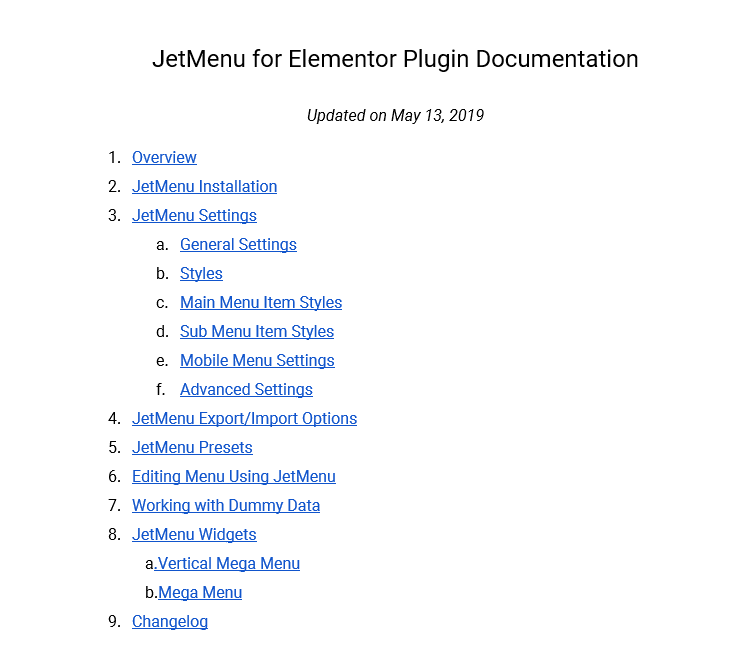
The documentation is also detailed and updated. Currently, it has 60 pages with guides and tips.
That’s a Wrap
I hope you found this tutorial useful and you managed to create an awesome mega menu on your WordPress site using Elementor and the JetMenu add-on.
If you have any questions or thoughts, drop a comment or send a message via contact or Facebook page.
You can also hit the follow button on Twitter and subscribe to the YouTube channel.
Don’t forget to share the post to help out others!


Leave A Comment