The new Gutenberg WordPress editor does have some nice features, and it can be used as a page builder to create some simple pages.
One of those nice features is the Cover block, which basically consists of a title on a background image or video.
I use this block quite often when creating pages for blogs, such as the About page.
So, in this tutorial, I’ll show you how to use it as well!
You can watch the video or continue reading the post. The post contains some more details.
Adding a Cover Image or Video in Gutenberg
Step 1
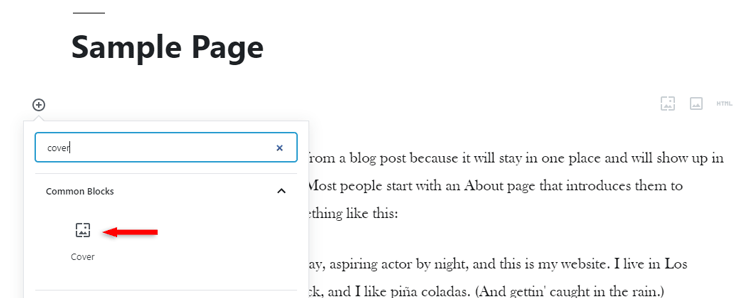
Click the + sign to add a new block, search for “cover”, then click on the Cover block to add.
Step 2
Upload an image or video, or add it from the Media Library if it’s already uploaded.
I’ll use an image as an example for this tutorial. Everything’s the same for videos!
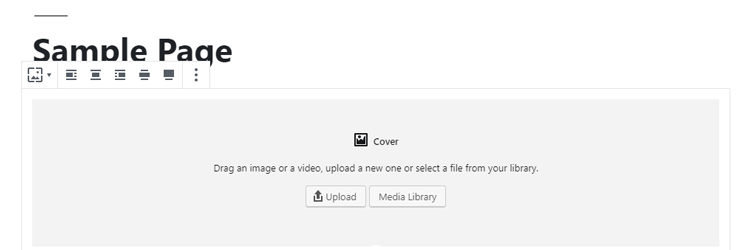
Make sure you upload an optimized image with the right format and size.
Final step
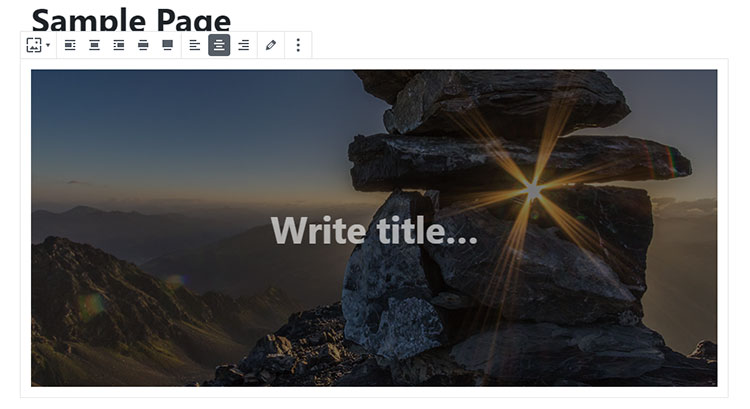
Click on Write title… to make it disappear and add your own title.
Customizing the Cover Image or Video
You can find different features and settings on the Cover block itself or in the right sidebar.
Using the toolbar
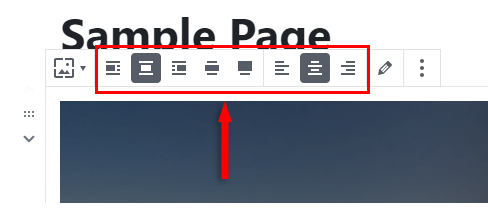
You can align the Cover block to the left, center or right.
Since I’m using the default Twenty Nineteen theme for my example, I also have two extra alignment options: wide width and full width.
You won’t have those unless your theme added such options for you.
You can also align the title within the Cover block to the left, center or right.
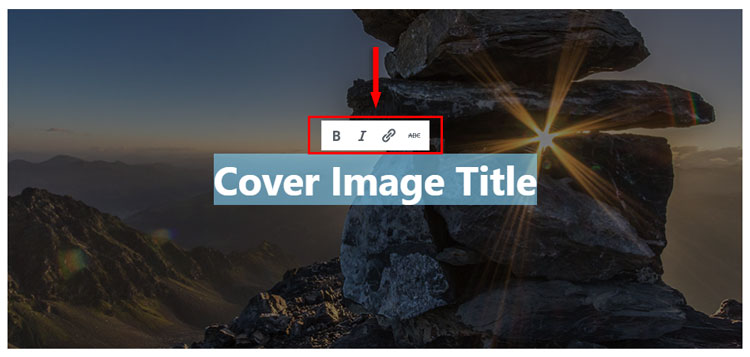
The title also has its own mini-toolbar, where you can make it bold or italic, or add a link or strikethrough (horizontal line through the middle of the text).
Using the settings
When you click on the Cover block to select it, you’ll get this in the right sidebar.
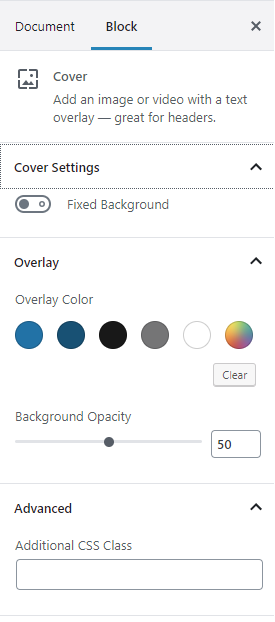
Cover Settings (this isn’t available for video covers):
- Fixed Background – If you enable it, it will add a parallax effect to the image. The image remains fixed and the content goes over it when you scroll.

Overlay:
- Overlay Color – Here, you can set the color that appears over the image or video.
- Background Opacity – This adjusts the transparency of the color. The higher the value, the less transparent it will be.
For example, I set the color to red and opacity to 70.
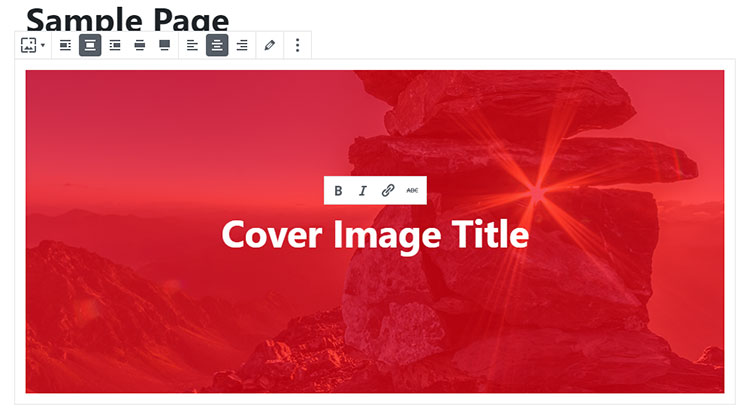
If you set the opacity to 100, the cover image or video won’t be visible at all, just the color.
If you set the opacity to 0, you won’t have any color over the cover image or video.
Advanced:
Additional CSS Class – You can add a unique CSS class to make changes to the Cover block using custom CSS coding.
Front-end Look
Here’s how it looks like in the front-end of the Twenty Nineteen theme:
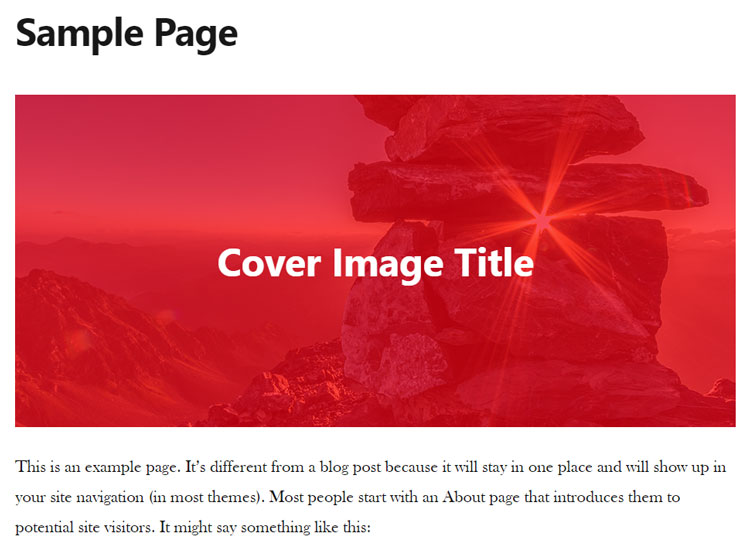
Pretty cool, right?
That’s a Wrap
I hope you found the tutorial useful and comprehensive, and you managed to add an awesome cover image or video on your WordPress post or page!
If you need help setting up your WordPress site or blog, my WordPress services are at your disposal!
You can quickly subscribe to my newsletter by using this link.
You can also hit the follow button on Twitter and subscribe to the YouTube channel.
If you have any questions or thoughts, drop a comment or send a message via contact or Facebook page.
Don’t forget to share the post to help out others!


Leave A Comment