
In my WordPress beginnings, like, 7 years ago, my first website got hacked.
All that was left of it was just a white page with a plain text message from the hackers :), which I don’t remember now.
Later, I found out that thousands of WordPress websites are hacked in bulk every day (at least back then), just for fun.
That’s possible because most webmasters don’t even have minimum security measures implemented on their WordPress websites, same as me back then.
Note that the platform itself, WordPress, usually has little to nothing to do with hacking. In almost every case, the hacking occurs because of improper maintenance, improper configuration, and the use of poorly developed 3rd party resources, like plugins and themes.
So, even a rookie hacker could break into your WordPress website without much hassle, if no security measures are implemented and if you don’t take care of your website.
Here’s a 2017 hacking report provided by Sucuri.
Anyway, after that incident, I woke up and took WordPress security seriously!
One of the first things I did is to install a security plugin called Better WP Security, which is now known as iThemes Security.
I’ve been using it since, and in this tutorial, I’m going to show how to properly set it up to secure your WordPress website, without breaking it!
I’ll also throw in 8 additional security tips at the end!
How to secure WordPress with iThemes Security
With the below setup, which I used and tested over the years, I never had another hacking issue (I hope a hacker doesn’t read this and take it as a challenge :D), and I never seen a WordPress website break because of these settings (that doesn’t mean it can’t happen).
You can install the free version or Pro version of iThemes Security, which offers extra safety and useful features that I’ll mention in this post.
Let’s get to work!
I. Running the standard ‘Security Check’
1. After installing and activating the plugin, go to Security -> Settings from inside your Dashboard, and perform the Security Check. A pop-up will automatically appear.
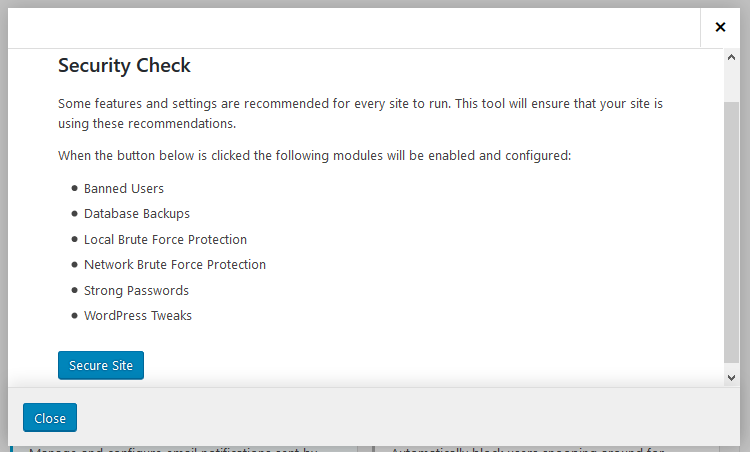
The Security Check consists of security settings that are recommended for every WordPress website.
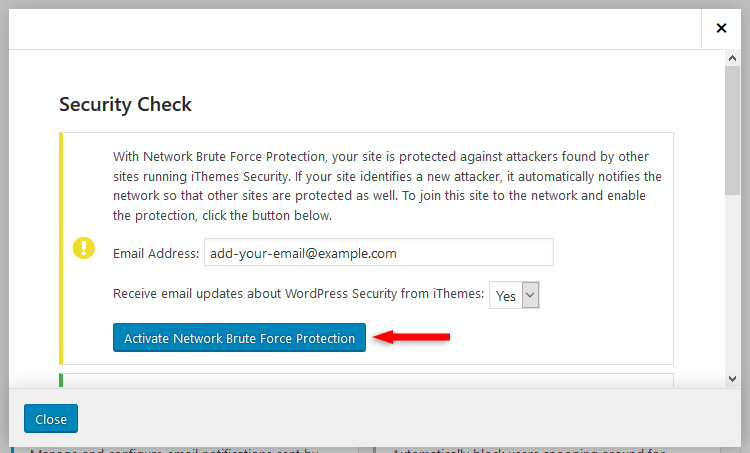
2. After clicking the Secure Site button, a new option will appear, asking you to Activate Network Brute Force Protection, and please do it by adding your email address and clicking the activation button. After that, close the pop-up window.
Even though these recommended settings should be enough in most cases, I’ll take it up a notch, implementing more settings that will further secure your WordPress website!
II. Setting up the ‘Recommended’ security options
After closing the security check pop-up window, you’ll found yourself in the Recommended features area.
Some security features will already be enabled, some will not, but we’ll enable them, if necessary.
I won’t go through all the security settings, just the ones that should be changed. You can leave the others as is, or you could go through them and change some stuff depending on your personal preference.
For example, in Global Settings, you could change the lockout error messages that will be displayed, or you could change the number of lockouts before a host is permanently banned from your website.
1. 404 Detection
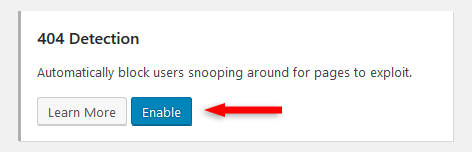
Enable it and leave the default settings in place.
404 detection is useful when someone or something (e.g. a bot) is trying to access pages that don’t exist, possibly looking for a vulnerability.
Therefore, after too many tries, it will be considered a hacking attempt and the host will be locked out and eventually permanently banned after 3 lockouts.
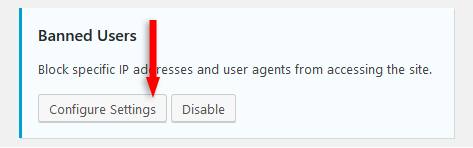
2. Banned Users
Check the Enable HackRepair.com’s blacklist feature.
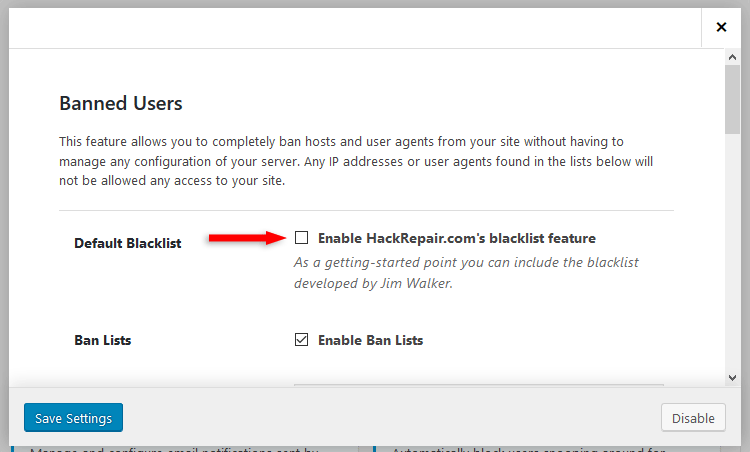
This is a blacklist that contains known threats. IPs and user agents that are on that blacklist won’t be able to access your WordPress website.
3. Database Backups
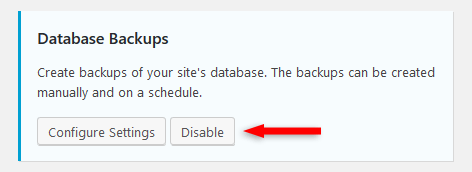
If you are on a good web hosting that offers daily backups, even for shared plans, and you also have a good backup plugin, which is recommended, you won’t need an extra database backup.
Two different backups can be considered extra safety, but three… it’s overkill.
On top of that, you can also quickly create a database backup from your cPanel. Two clicks and you’re done!
4. File Change Detection
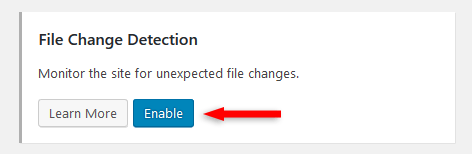
Enable it.
This option will let you know what files have been changed in your WordPress installation that weren’t changed by you directly.
This is useful if someone does manage to somehow break into your website, since there’s no such thing as 100% security, no matter what you do.
If you do get hacked, you could see what files got altered.
Now, there is something that can be annoying, and I usually disable it – Display file change admin warning.
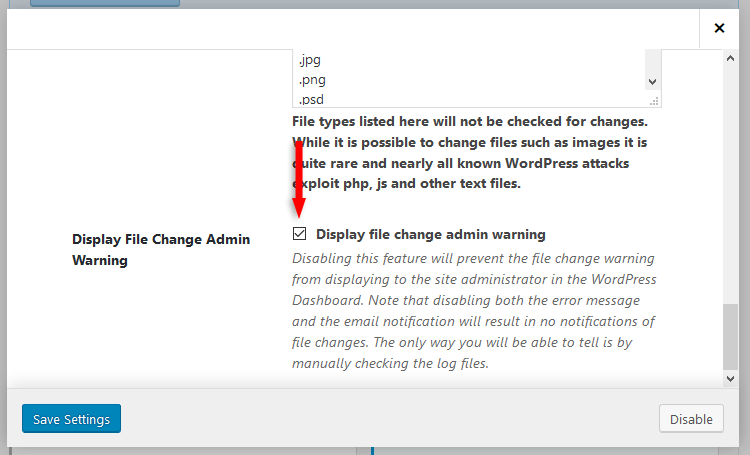
That will display a pretty scary warning in your Dashboard, whenever files are changed.

The thing is that files are constantly being changed because of your caching plugin, theme, or other plugins. Files are getting deleted, added… there’s always activity.
So, that warning will always be there and it will freak you out.
You’ll also frequently receive emails regarding files changes, which can be even more annoying.
So, access the Notification Center.
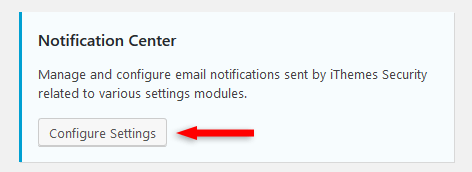
Then disable the File Change notification.
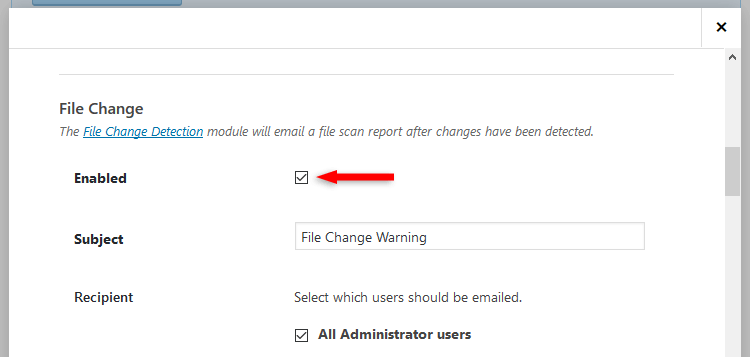
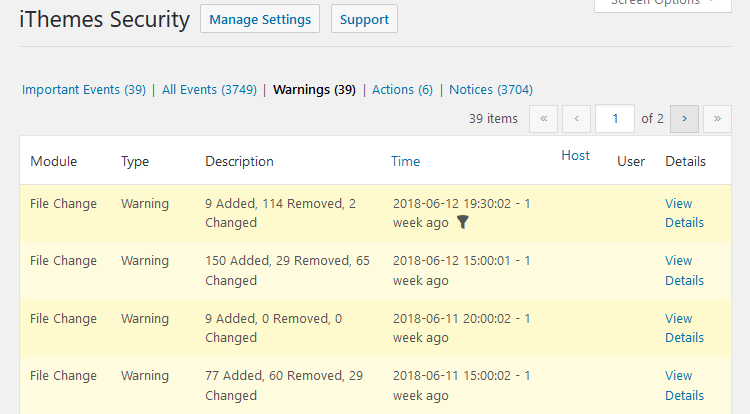
You can always manually check your logs for file changes by going to Security -> Logs.
5. Local Brute Force Protection
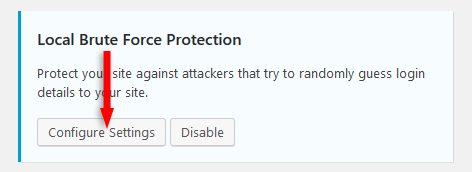
Enable Automatically ban “admin” user.
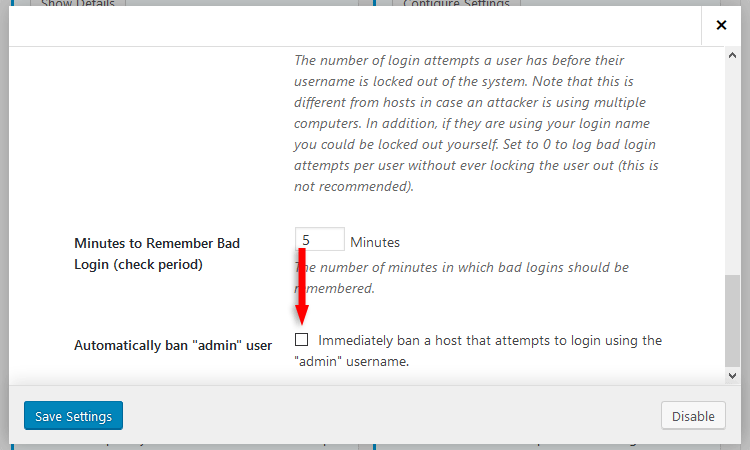
Basically, through brute force attacks, hackers try different combinations in order to obtain your login information. Of course, they use an automated software, they won’t do it manually.
Having a username as simple as ‘admin’ means that one of the brute force steps is completed almost from the start, since that’s probably their first “guess”, due to the fact that a lot of webmasters are still using ‘admin’ as their username.
So, besides choosing an original username, you should always ban anyone who tries to log in using the ‘admin’ username.
6. Password Requirements
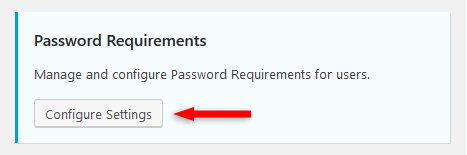
Change the Minimum Role to Subscriber.
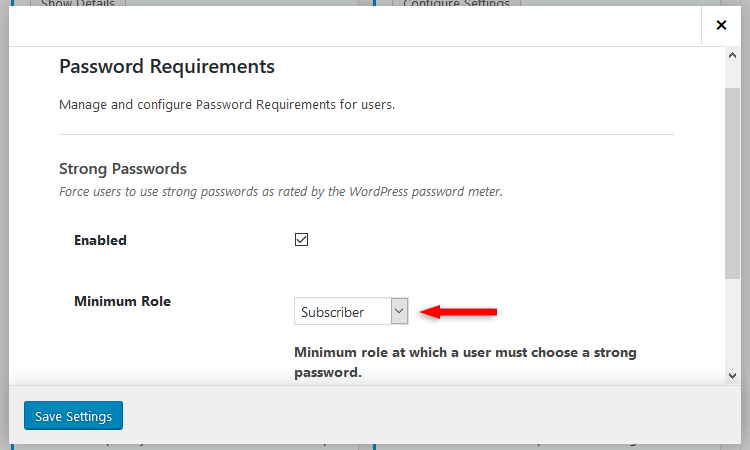
We want everybody to use strong passwords, right? Strong passwords = better anti-brute force security.
7. System Tweaks
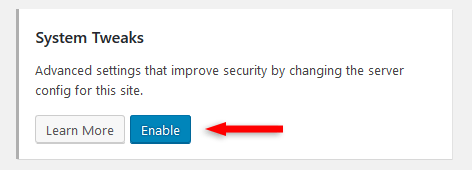
Enable them, then check the following:
- Protect System Files – Prevent public access to readme.html, readme.txt, wp-config.php, install.php, wp-includes, and .htaccess.
- Disable Directory Browsing – Prevents users from seeing a list of files in a directory when no index file is present.
- Filter Request Methods – Filter out hits with the trace, delete, or track request methods. Don’t check it if you’re using the WordPress REST API.
- Filter Suspicious Query Strings in the URL – These are very often signs of someone trying to gain access to your site. If your theme and / or some plugins misbehave, then uncheck it.
- Filter Non-English Characters – Filter out non-English characters from the query string. Don’t check this if your site is in another language.
- Filter Long URL Strings – Limits the number of characters that can be sent in the URL. Hackers often take advantage of long URLs to try to inject information into your database.
- Disable PHP in Uploads – This blocks requests to maliciously uploaded PHP files in the uploads directory.

8. WordPress Salts
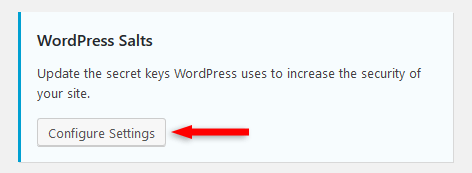
Enable Change WordPress Salts.
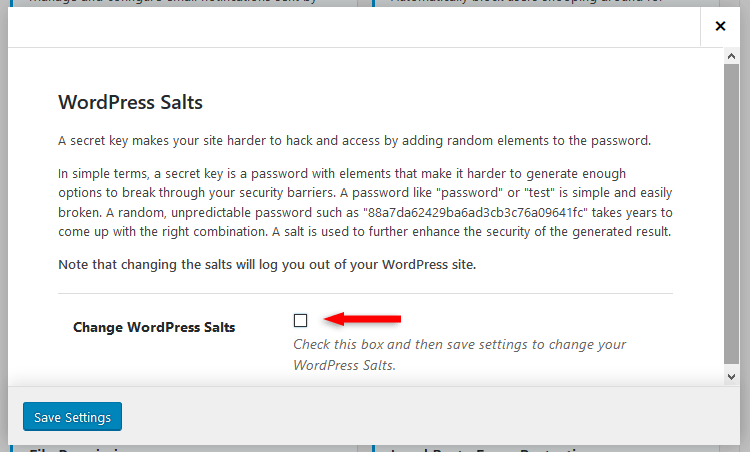
WordPress salts are keys that encrypt your passwords, so hackers can’t use them even if they gain access to your data.
Frequently changing the salts further enhances your WordPress website security. Twice per year would be good.
Note that when changing WordPress salts, you’ll be logged out of WordPress, so don’t panic! Just log back in.
9. WordPress Tweaks
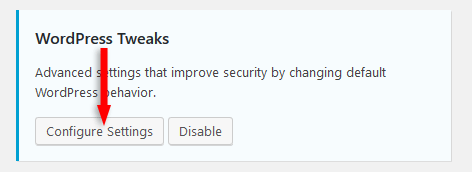
I’ll break things down in 3 parts, for screenshot and readability purposes, because there are a lot of settings and info.
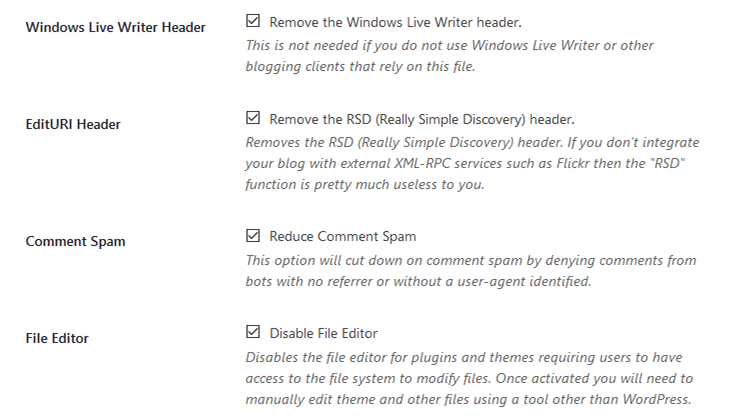
a) Check the following:
- Remove the Windows Live Writer header – Check, if you use Windows Live Writer or other blogging clients that rely on this file.
- Remove the RSD (Really Simple Discovery) header – Check, if you don’t integrate your blog with external XML-RPC services, such as Flickr.
- Reduce Comment Spam – Cut down on comment spam by denying comments from bots with no referrer or without a user-agent identified.
- Disable File Editor – Check, if you have users with roles that allow access to the WordPress file Editor, but you don’t really trust them. Otherwise, leave it unchecked.
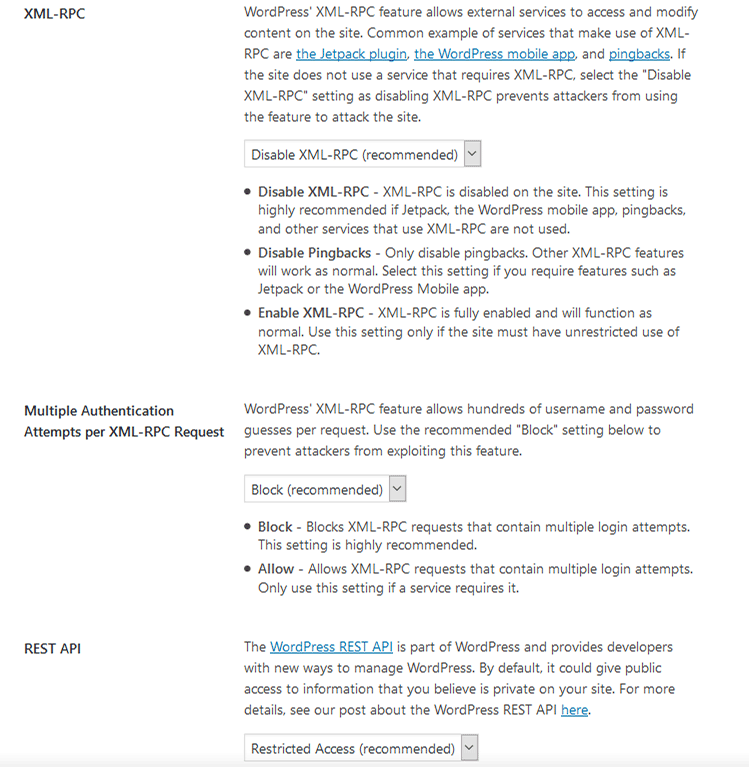
b) Select the following:
- Disable XML-RPC (Recommended) – WordPress’ XML-RPC feature allows external services (e.g. JetPack, WordPress mobile app, pingbacks) to access and modify content on the site. If you’re not using services that rely on XML-RPC, then disable it to prevent attackers from using it.
- Multiple Authentication Attempts per XML-RPC Request – Block this to prevent attackers from exploiting this feature. Only allow it if a service requires it.
- REST API – By default, it could give public access to information that you believe is private on your site (more info here). Select Restricted Access.
Hang in there, we’re almost done :D.
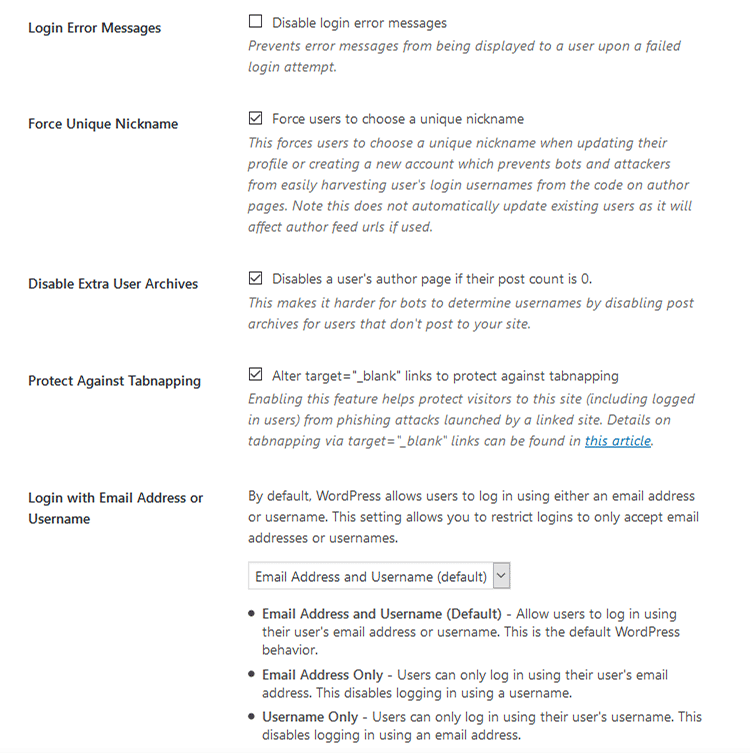
c) Check the following:
- Force users to choose a unique nickname – This forces users to choose a unique nickname when updating their profile or creating a new account, which prevents bots and attackers from easily harvesting user’s login usernames from the code on author pages.
- Disable a user’s author page if their post count is 0 – This makes it harder for bots to determine usernames by disabling post archives for users that don’t post to your site.
- Alter target=”_blank” links to protect against tabnapping – Helps protect visitors (including logged in users) from phishing attacks launched by a linked site.
We’re done with the ‘Recommended’ features!
Now we’re going to the more advanced part.
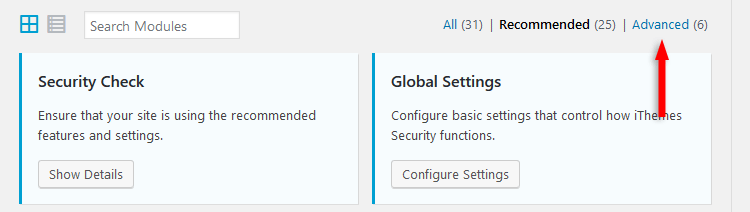
III. Setting up the ‘Advanced’ security options
Go to Security -> Settings and click on the Advanced link in the upper-right corner.
1. Admin User
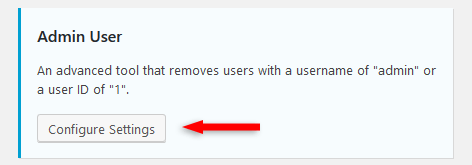
Check Change the ID of the user with ID 1.
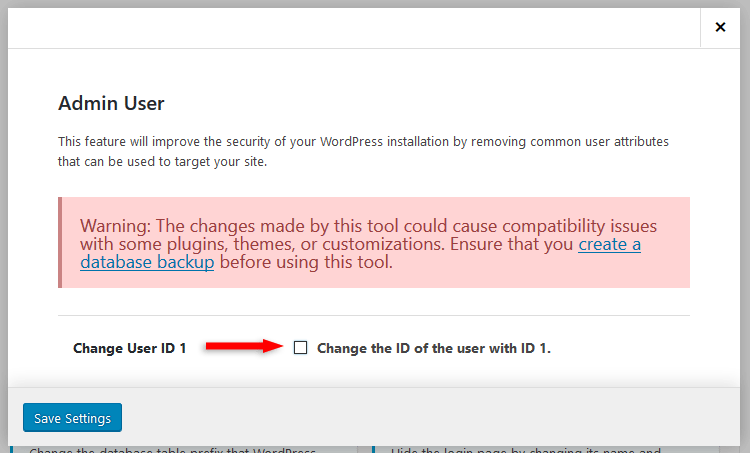
This will remove common user attributes that can be used to target your WordPress site.
This is a bit dangerous because it can cause compatibility issues with some plugins, themes, or customizations.
Since installing a security plugin should be something that you should do right after installing WordPress, I recommend setting this then, before starting to install your theme, other plugins, and so on.
It can’t break anything that matters, since you just installed WordPress.
If you’re going to do it on your live website, then perform a backup first!
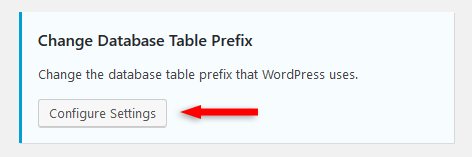
2. Change Database Table Prefix
By default (depends how you install WordPress, though), WordPress assigns wp_ as a prefix to all tables in your database.
And, of course, if it’s a default thing, it’s known by hackers, which makes it easier for them when launching an attack.
Therefore, changing the prefix of the database table will further secure your WordPress website.
So, access the ‘Change Database Table Prefix’ options.
Set Change Prefix to Yes and click the Save Settings button. The prefix will be selected automatically.
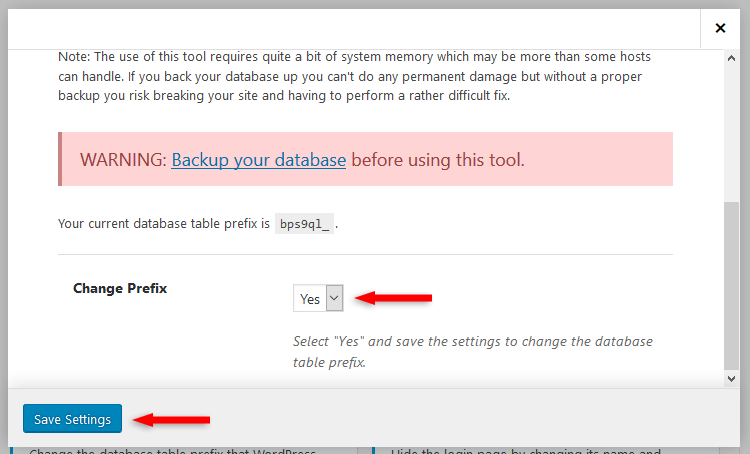
Again, it would be ideal if this would be done right after installing WordPress, to prevent conflicts that can break your website.
If you change this after your site has gone live, or after you’ve done extensive work on it, then perform a backup!
3. Hide Backend
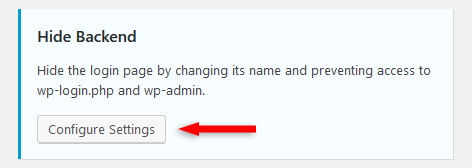
Check Enable the hide backend feature. More options will appear after checking that.
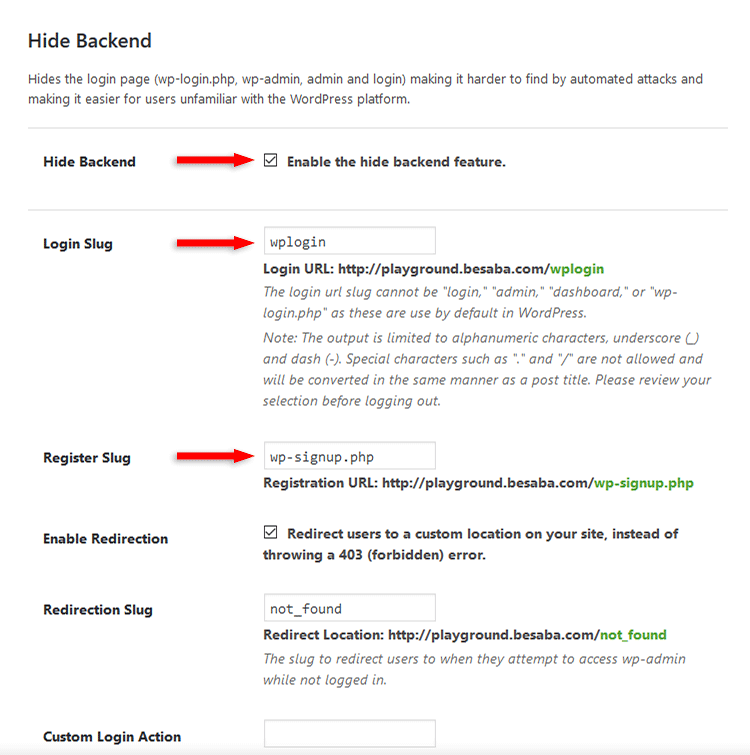
Here’s what to change:
- Login Slug – The login slug is the URL that you access in order to log in to WordPress. By default, it’s
example.com/wp-admin/orexample.com/wp-login.php/. As default stuff are not good for security, you should change it to something original. Don’t leave the default one from iThemes Security:wplogin. - Register Slug – If you have registration enabled (Settings -> General -> Membership) on WordPress, and it’s actually being used, then change the slug for this URL as well. Otherwise, disable the registration.
This was the last piece of our iThemes Security puzzle!
As you can see, iThemes Security has a ton of great features that will secure WordPress properly. There’s no doubt about that!
There are even more with the iThemes Security Pro version, but those depend more on the nature of the website and the needs of the webmaster.
For example, on this particular website, I don’t need the pro features, but you might need them, so I’m going to mention them below.
Going for iThemes Security Pro
So, if you need extra features, like the ones pointed out below, you might want to purchase the iThemes Security Pro version.
Here are some treats that you’ll get:
- Magic Links – This allows you to log in even if, somehow, your username is locked out by the ‘Local Brute Force Protection’ feature.
- Malware Scanning – Performs automated scans for malware. For those of you that are using SiteGround hosting, like I am, you have a malware tool called SG Site Scanner, powered by Sucuri.
- Privilege Escalation – Allows administrators to temporarily grant extra access to a user for a specific amount of time.
- reCAPTCHA – Prevents spam and protects your website by verifying if the users who submit a comment or log in are indeed humans.
- Settings Import and Export – You can export your settings from a website to back them up or to import them into another website.
- Two-Factor Authentication – This will require a time-sensitive code after you add your WordPress log in details. This code will be sent to your mobile device, which has to have another app installed, like Authy, Google Authenticator, or other. While a two-step verification process like this can greatly improve your WordPress security, it’s also very annoying for some people, including me.
- User Security check – You can check to see how your users might be affecting your security.
- User Logging – Log user actions, such as saving content, login, etc.
- Version Management – It protects your WordPress website when outdated software (WordPress, plugins, themes) is not updated quick enough.

Additional and important WordPress security tips
Installing and setting up iThemes Security for your WordPress website is just one of the important parts!
There are more security layers that you can check on your list!
1. Host your WordPress website on a secure hosting
Always make some research before purchasing anything, not just web hosting. Don’t just trust the marketing.
I recommend SiteGround, since I’ve been using it for 4 years, I think, and I have used other hosts too.
2. Check if your web host provides security tools
For example, as I also mentioned above, SiteGround offers a malware scan tool called SG Site Scanner, which is powered by Sucuri.
Check if your web host offers something like that. If it does, I recommend purchasing it!
3. Don’t use nulled (pirated copies) themes and plugins
Don’t download or buy plugins or themes from shady websites or forums.
They can contain malware and they won’t be updated, at least not frequently.
Always purchase themes and plugins from trusted websites, such as Elegant Themes, StudioPress, GeneratePress (review), MyThemeShop, or marketplaces, such as Themeforest, TemplateMonster, Codecanyon.
Again, research!
4. Don’t install outdated and poorly developed themes and plugins
Make sure that the themes and plugins are updated and compatible with the latest WordPress version. If it doesn’t say anywhere, contact the developers and ask them.
Some themes and plugins can be just fine, even if they are a little bit outdated, but it depends from case to case.
And since most of you aren’t web developers, you won’t know if a theme or plugin is poorly developed, but you can perform a research, check for some reviews, ask around…
5. Update WordPress, your plugins and theme
Even though you shouldn’t perform updates right away, make sure you do check ASAP to see if there are any updates related to security!
6. Use Cloudflare
Besides providing security, Cloudflare also provides CDN (Content Delivery System), which will help with your WordPress website’s loading time.
So, you’ll basically kill two birds with one stone.
Oh, and it also has a FREE plan!
7. Always go for HTTPS
Always install an SSL certificate and properly use HTTPS on your domain.
Respectful web hosts support Let’s Encrypt, which is a good, automated, and FREE SSL certificate authority.
Yes, SiteGround supports it :D.
8. Use additional external website security services
Use an external security service, such as Sucuri or SiteLock, to further improve your WordPress security.
Think that’s about it… Can’t think of any additional tips. If you guys know more tips, please leave a comment.
So, as you can see, there are a lot of things that you can to do secure your WordPress website!
With all these stuff taken into account and implemented, you can sleep like a baby at night, without any worries, unless you have a beef with Anonymous or something… Then you could still be in trouble.
That’s a wrap
Hope you found the post comprehensive and you started implementing all these features, so you can properly secure your WordPress website!
If you have any questions or thoughts, drop a comment, contact me or message me on Facebook.
You can also follow ThemeSkills on Twitter and subscribe to the YouTube channel.
If you want to start your own WordPress blog, or need a website for your business, my WordPress services are at your disposal! I also provide WordPress support and maintenance!
You can also purchase a ready-made WordPress website with hosting and support included!

Leave A Comment