Some of you might want to create a subdomain for your blog, online store, or another part of your website that might not be a good fit on the main domain.
If your web host uses cPanel, then creating a subdomain for your WordPress website will be very easy, and I’ll show you how to do it!
Create a Subdomain in cPanel
Step 1
Log in to cPanel.
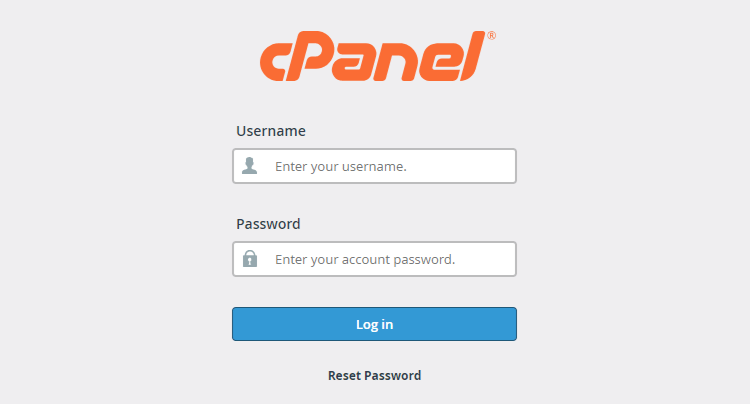
You can normally access it by adding https://example.com/cpanel in your browser’s address bar.
Of course, replace example.com with your own domain.
You should also be able to access cPanel from within your web hosting account.
Step 2
Note: Depending on your web host and plan, you might not be allowed to create a subdomain!
Once you’re logged in, search for the Subdomains option.
I can’t tell you exactly where it is because it differs from web host to web host.
This is how it looks like on NameCheap’s shared hosting (affiliate link) where I host my WordPress testing site.

And this is how it looks on SiteGround (affiliate link), where I host two websites, including this one.
Here’s my SiteGround review for WordPress if you’re interested in it.
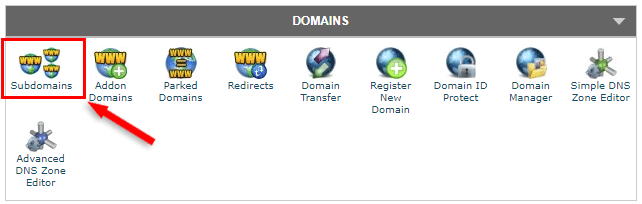
As you can see, they’re quite different. The only thing they have in common is the Domains section, where the Subdomains option is found.
Step 3
In the Subdomains section, you’ll find something like this:

Again, the appearance might differ from host to host, but the process should be the same.
- Subdomain: Add your subdomain there (e.g. blog, shop, services, etc.);
- Domain: Select the domain that you want to contain the subdomain;
- Document Root: It should normally be
example.yourdomain.com. This might be generated by default, so you won’t need to manually add it.
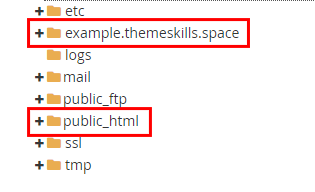
Some web hosts might automatically generate public_html/example instead, in the Document Root.
It’s not wrong, but it will add the subdomain in a subfolder inside public_html.
I prefer having it in a separate folder, like this:
Step 4
Check to see if everything’s in order and then click the Create button.
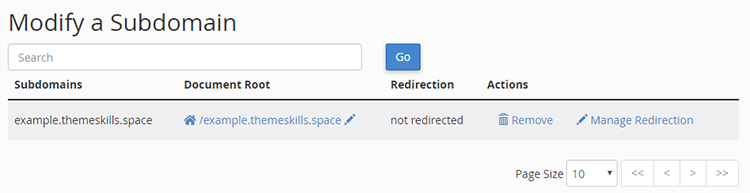
The subdomain is now created!
You’ll see it appear underneath, where you can manage it, delete it, or implement other features that the web host might offer.
What’s Next?
Well, first, you should make sure that an SSL certificate is installed on it, so it can be accessed via HTTPS.
The type of SSL and how you can install it, depends on the web host.
Secondly, you’ll need to install WordPress on it.
Installing WordPress on a subdomain is exactly the same process as the one you used for your domain, regardless of the installation method (manually or autoinstall software).
The only difference is that you need to install it on that subdomain now.
That’s a Wrap
I hope you’ve successfully managed to create a subdomain in cPanel for your WordPress website using this guide!
If you need help setting up your WordPress site, my WordPress installation service is at your disposal!
On-going WordPress support and maintenance services are on the menu as well!
You can quickly subscribe to my newsletter by using this link.
You can also hit the follow button on Twitter and subscribe to the YouTube channel.
If you have any questions or thoughts, drop a comment or send a message via contact or Facebook page.
Don’t forget to share the post to help out others!

Leave A Comment