This post was last updated on 10/27/2018
We’ve seen a lot of people, especially beginners, asking and searching for plugins to create sticky posts because they don’t know that WordPress already has a built-in feature for that, which was introduced in version 2.7.
In this article, we won’t just tell you how to create WordPress sticky posts, we’ll also tell you how to add them per category, and how to style them.
Click here if you want to jump to the video tutorial.
What are sticky posts and what use do they have?
A sticky post is a post that stays at the top of your blog’s page, above all other articles, even if new blog posts are being published.
Sticky posts are usually used when you want to feature a piece of information for your users.
For example, if you offer discounts, if you offer a free ebook, if you’ve written an amazing guide post and you want it to be seen by as many users as possible, etc.
It’s like pinning to top an important Tweet or a Facebook post.
How to create WordPress sticky posts
It’s very easy! All you need to do is to:
- Log in to your Dashboard, of course;
- Go to Posts -> All Posts and choose the one that you want to make it sticky;
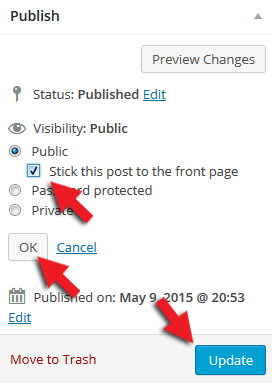
- On the right, next to Visibility, there’s an Edit link. Click on it and check the box where it says “Stick this post to the front page”. Don’t worry about the front page part, it doesn’t refer to your homepage, but to your posts’ page;
- Press Ok, then Update. That’s it!
The appearance of your sticky posts depends on your theme’s design.
Using a plugin to create WordPress sticky posts per category
Update: This plugin is outdated, and I can’t find one with the same functionality at the moment.
For this part, you’ll need the Category Sticky Post plugin. Don’t worry, it won’t get complicated. In fact, the plugin doesn’t even have settings to deal with.
Just install the plugin, then go to Posts -> All Posts and choose the post you want to make it sticky for a specific category page.
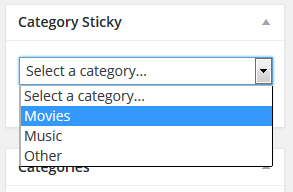
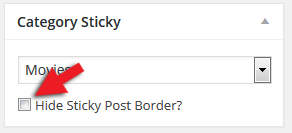
Once you’re in the post editor, look for the Category Sticky box. From that drop-down menu, you can choose the category page in which you want the post to stick.
Note that, by default, this plugin will add borders to your sticky post:
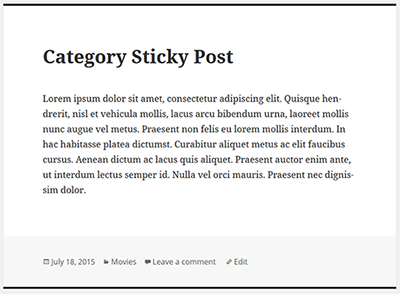
You can disable the borders by going into the post editor, and in the Category Sticky box, check the option that says: “Hide Sticky Post Border?”.
How to style the WordPress sticky posts
For this part, you’ll need to get your hands dirty a little bit and add some CSS code.
Here are several ways to add CSS to WordPress, the simplest one being to go to Appearance > Customize > Additional CSS.
1. Styling the default WordPress sticky post
Add the below CSS code:
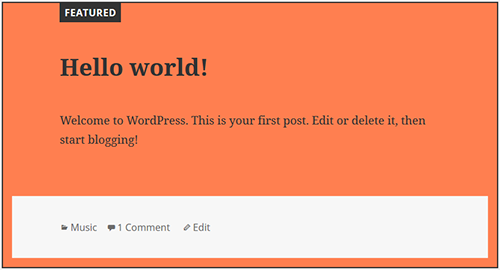
.sticky {background: #FF7F50; border: 2px solid; padding: 15px;}
Here’s how the WordPress sticky post looks in my example:
2. Styling the WordPress category sticky post
The above code doesn’t work for categories as well, so we need to add another piece of code, which is basically the same one, except you need to add .category-sticky instead of .sticky.
So, here’s the code for the WordPress category sticky post:
.category-sticky {background: #FF7F50; border: 2px solid; padding: 15px;}
Of course, you can change the background color, border style, and padding as you see fit. I just provided an example.
Video Tutorial
Conclusion
Sticky posts can be very useful when you want to bring important content in front of your users’ eyes, and know you know how to do it!
You can feature a post for as long as you see fit. When you think it’s time to unstick it, just uncheck that box in your post editor and it’s done!
If you have any questions, or just want to say something, please leave a comment!

Leave A Comment