
This post was last updated on 6/14/2018
Adding categories is very easy, but for beginners, it may take a while to figure it out. Therefore, I decided to write this quick guide on how to add categories in WordPress.
Categories are a very important part of your blog because they allow you to organize your content in certain main topics, making it easier for your readers to find what they’re looking for.
Click here if you want to jump to the video tutorial.
How to add categories in WordPress
1. Log in to your WordPress admin area.
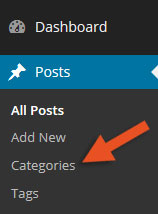
2. Go to Posts -> Categories.
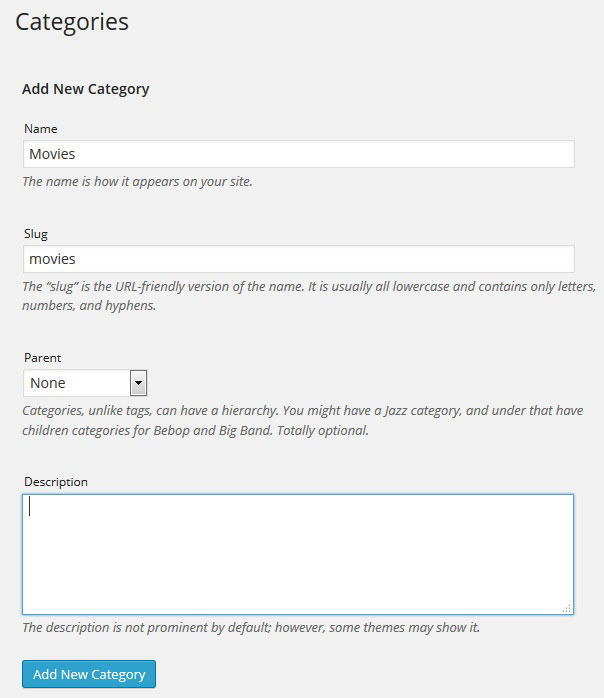
3. Create your category.
For this example, I chose Movies as a category name. The slug should usually be the same, so for our example, it’s movies. The description is optional; we usually don’t add any descriptions.
4. Now click Add New Category and you’re done! You’ve added your first category. You’ll notice that it appears on the right table after clicking the add button.
While you’re there, make sure you rename the Uncategorized category. It’s important!
Now, maybe you’re asking yourself what’s with that Parent option in the Categories menu. That’s for creating subcategories!
How to add subcategories in WordPress
So, we’ve created the Movies category. That’s good, but there are a lot of movie genres, so subcategories will come in handy, no? Let’s see how to do it.
Add a new category (name + slug), but then choose a Parent, which in our case will be Movies. I chose Horror for the subcategory name.
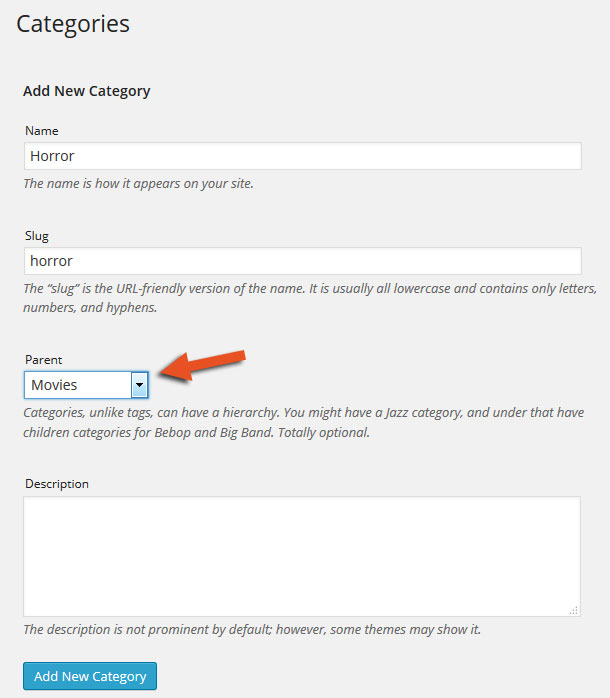
So, the Movies category is the “parent”, and the Horror subcategory is its “child”. Here’s how it will look after clicking Add New Category:
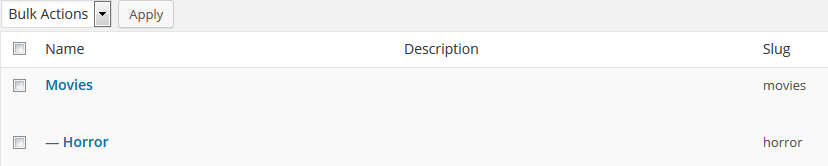
Notice the difference? The subcategory has a line in front of it.
Now, with a category and a subcategory included in your URL, it should look like this http://yourdomain.com/movies/horror/, because we are using SEO and user-friendly URLs, no? (check point 3).
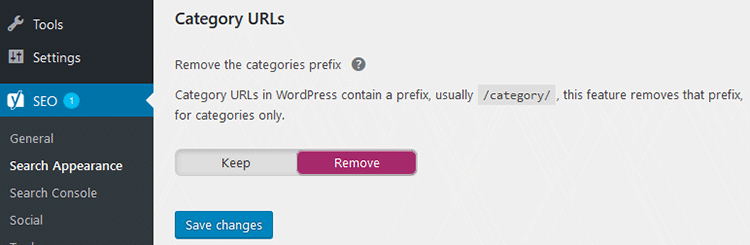
Remove /category/ from your URL
WordPress will add /category/ by default in your URL, so it will look like this http://yourdomain.com/category/movies/horror/.
We recommend removing /category/ because it unnecessarily adds a base to your URL, making it longer and kind of unpleasant looking as well. You usually shouldn’t have more than 3 categories/subcategories in your URL.
How to get rid of that? Well, since you will definitely need a plugin for your WordPress on-page SEO, and with Yoast being the best one (in our opinion), you could use its setting.
Install the plugin, go to SEO -> Search Appearance -> Taxonomies, and select Remove under Category URLs.
Video Tutorial
Conclusion
Now that you know how to add categories in WordPress, you can get busy and start creating your own! Just don’t create too many, make sure they are SEO and user-friendly, try not to add more than 3 in your URL, and get rid of /category/!
Hope you found the post useful! If so, make sure you share it with your WordPress buddies.
If you have something to say or ask, please feel free to leave a comment!

Leave A Comment